Mobile Sharpening Station: Complete Setup Guide
By Sora Tanaka • 23rd Mar
A mobile sharpening station setup works because portability and portable sharpening workflow discipline reinforce each other (you sharpen more consistently when your tools are always at hand). This guide walks you through building a compact, angle-locked system that delivers repeatable results whether you're in a small apartment, an RV kitchen, or on a food truck. If space is your main constraint, see our compact small-kitchen sharpener picks for setup ideas that fit in a single drawer.
Why Mobile Sharpening Matters
Fixed sharpening stations collect dust because they're friction points: drag yourself to a bench, clear space, set up stones, sharpen, tear down. A mobile station inverts that friction. When your kit is organized and ready to move, you reach for it before a dull edge becomes a safety problem or a prep-time drain.
For RV kitchen sharpening, food truck sharpening solutions, and mobile kitchen organization, the stakes are higher. Noise ordinances in RVs rule out aggressive electrics. Food trucks demand speed without mess. Apartment dwellers need silent systems. Your station must prove itself through measurable feedback (clean cuts on tomato skin, zero wire edges, consistent angle hold), not promises.
Core Principles for Mobile Setups
Portability creates three constraints: minimal footprint, noise suppression, and vibration control. Vibration-resistant sharpening is critical because mobile platforms (vehicle countertops, fold-out tables) lack the dead weight of a shop bench. A loose stone amplifies vibration and degrades your feedback loop.
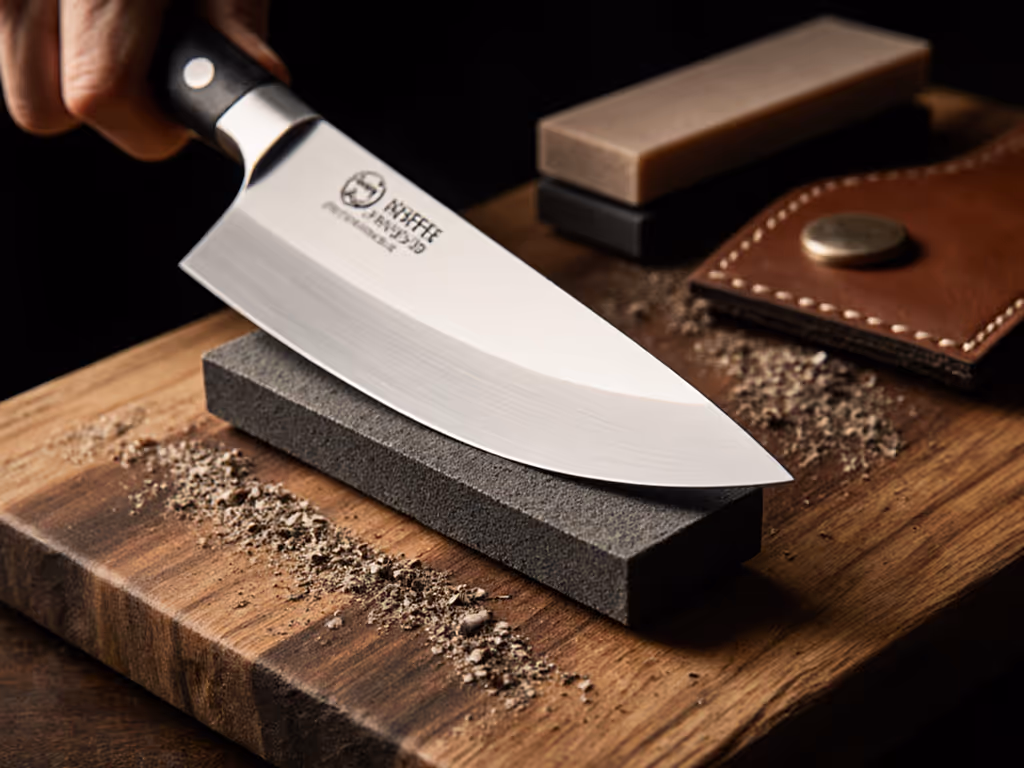
Control the angle, control the outcome (steel tells the truth). This principle becomes non-negotiable in a mobile context. Without a fixed bench and your muscle memory alone, you need mechanical reference. That's why angle guides or stones with built-in holders aren't optional; they're your feedback cue.
Mastery comes from deliberate practice with clear feedback loops, and a mobile station is actually ideal for that: shorter sessions, frequent repetition, measurable progress. I learned this over Saturday mornings, chasing a burr on cheap stainless with only a 1k stone. When you strip away distractions, you hear what the stone and steel are telling you. A mobile setup, by necessity, keeps that signal clean.
Step 1: Choose Your Foundation Container
Checkpoint: Containment must allow even weight distribution and prevent stone shift during transport.
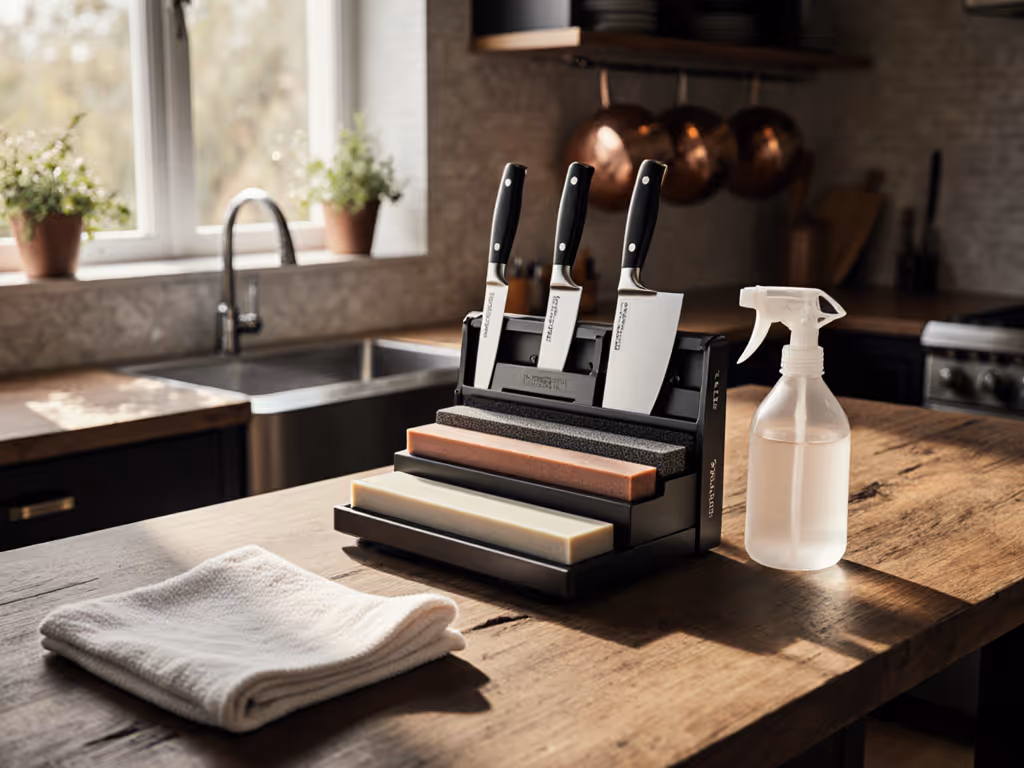
Your foundation is a toolbox, wooden case, or foam-lined bag, nothing exotic. The size should hold your largest stone plus tools without cramping. Soft foam inserts are worth the money: they dampen vibration, protect blade edges, and keep stones from rattling and chipping edges during the commute.
For mobile kitchen organization, a compartmented case beats a single cavity. Separate zones for stones, honing guides, steel, cleanup cloths, and water vessel reduce setup time and prevent cross-contamination (steel particles dulling your finest grit).
Step 2: Select and Nest Your Stones
Checkpoint: Stones should span a clear progression (coarse for profiles, medium for blunting, fine for polish) without redundancy.
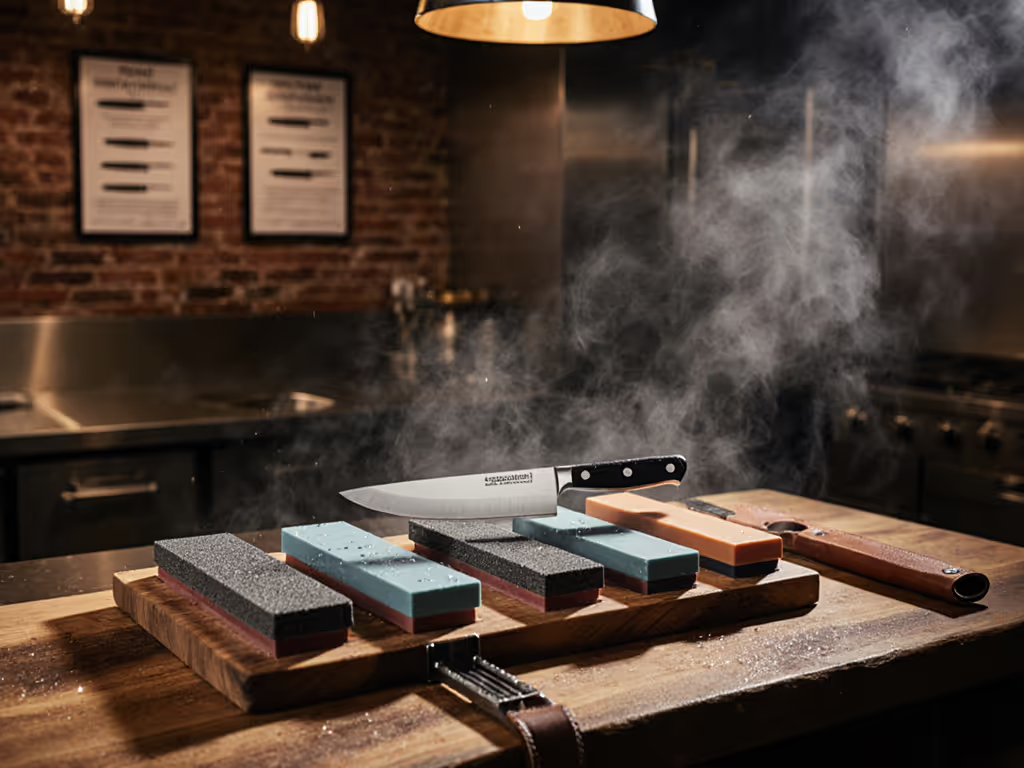
Don't carry your full stone collection. A mobile station works on the 80/20 rule: two to three stones cover 80 percent of maintenance. Consider this progression:
- Coarse (800-1000 grit): for blunted edges and re-profiling. Japanese synthetics (e.g., King, Shapton) are durable and affordable.
- Medium (4000-6000 grit): your workhorse. This grit range handles kitchen knives, EDC blades, and outdoor tools.
- Fine (8000+ grit): for polish and stropping-grade finish. This is optional unless you prioritize visual shine or very hard steels (S35VN, M390).
Nesting matters: design the case so stones don't collide. A shallow wooden insert with routed channels works, or use foam with laser-cut pockets. Stack only when stones are dry to avoid water seepage and mold. For sequencing your stones effectively, follow our grit progression guide to avoid redundant grits and speed up results.
Step 3: Secure an Angle Guide or Honing Jig
Checkpoint: Your guide must lock the blade at a repeatable angle (typically 15-20° for kitchen knives, 20-25° for harder steels). Test it without water first.
For mobile work, a bench-mounted guide is impractical. Instead, use a handheld honing guide or stone-edge jig that clamps the blade or rides the stone's surface. These devices are your angle feedback mechanism (they eliminate the guesswork and make shallow, controlled strokes repeatable).
If stones are your learning tool, guides are your feedback certainty. To choose the right angle for your knives, see 15° vs 20° in our sharpening angle explainer. There's no shame in them; many professionals use them for consistency, especially when resharpening multiple knives in quick succession.
Step 4: Establish a Water and Cleanup System
Checkpoint: Water access must be silent and spill-proof. A squeeze bottle beats a bucket in mobile contexts.
Water stones require soaking (5-10 minutes before use); diamond stones and stones designed for splash-and-go work better in compact spaces. For an RV or food truck, a small squeeze bottle of water and lint-free towels are all you need. This keeps your station quiet (no running tap) and the mess contained.
Always work over a towel or shallow tray to catch slurry and steel particles. Slurry buildup dulls your stone and creates slip hazards.
Step 5: Plan Your Blade Progression and Checkpoints
Checkpoint: Process each blade through the same sequence: coarse stone, medium stone, angle verification, light finishing passes.
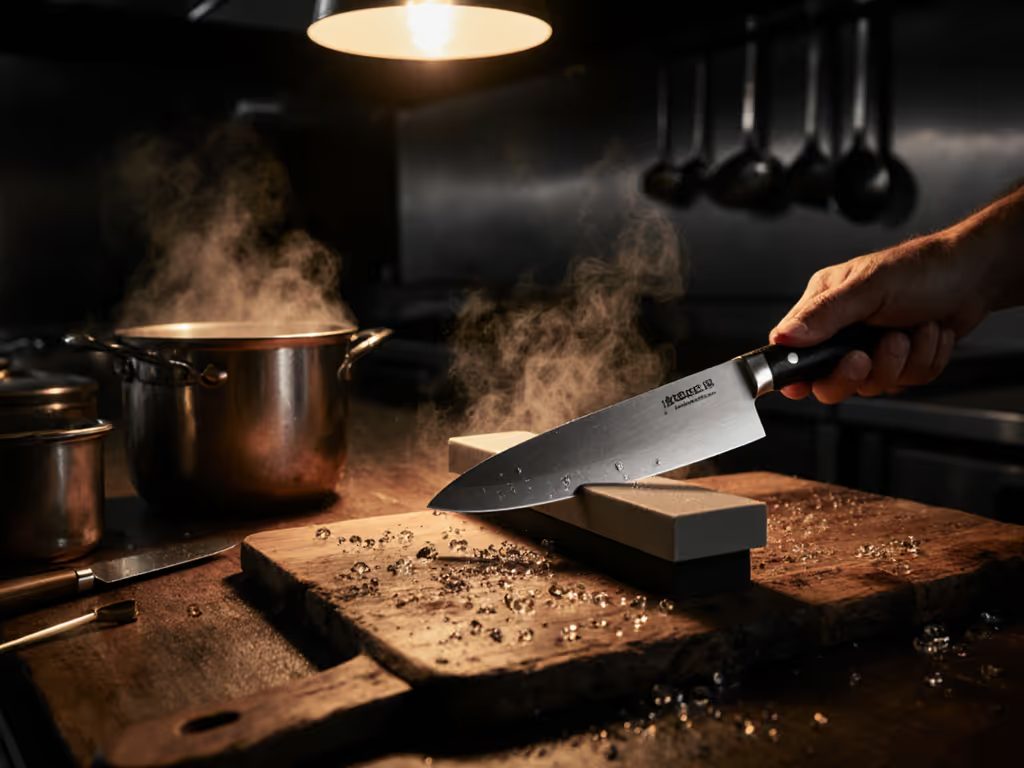
Sharpening on the move requires a ritual. Handle one knife at a time:
- Coarse stone: two to four passes per side to establish a new burr. Feedback cue: listen and feel the rhythm change as the burr forms.
- Medium stone: eight to twelve passes per side to refine the edge and prepare for finishing.
- Angle check: Use your guide and a light table or window to spot-check the bevel (does light glint evenly along the edge?).
- Lighten the finishing passes: Reduce pressure by half and do two to three final strokes per side. This is where polish and confidence happen.
- Test: Tomato skin, paper, or a light push-cut on arm hair (choose one and repeat it for every blade). Consistency reveals skill growth.
Step 6: Organize Accessories and Maintenance
Checkpoint: All consumables (stones, guides, towels, water) must fit in your container with zero overhang. For accessory picks that streamline mobile setups—stands, trays, storage—see our optimized station tools guide.
Include:
- Spare towels (linen, not paper; they're reusable and lint-free).
- A small flatten plate or diamond plate if your stones see heavy use (monthly flattening keeps your coarse stone honest).
- Backup guides if you have multiple blade types (kitchen vs. outdoor vs. EDC often benefit from slightly different angles).
- A simple checklist or notebook to log which knives you've sharpened and when. This builds your feedback loop over months.
Step 7: Build Your Field Test Protocol
Checkpoint: Define one objective test and run it on every knife. Consistency beats complexity.
Choose a test that matches your use. Kitchen cooks test on tomato skin (clean slices with minimal pressure). EDC users test paper cuts or arm hair. Outdoors, test wood-carving feedback. Do the same test in the same way after every sharpening session. Over weeks, you'll notice: cleaner cuts, lighter pressure needed, longer edge life. That's your feedback. That's how you learn.
Considerations for Different Environments
For RV kitchen sharpening, secure your station to prevent slides during travel. Vibration from engine and road noise will mask your feedback cues, so rely heavily on visual checks; good lighting is essential.
For food truck sharpening solutions, minimize water use and work in short bursts between service. For rig-specific picks and workflows, see our mobile food truck sharpening guide. A honing steel between shifts keeps edges viable longer and reduces full-sharpen frequency.
For apartment dwellers with noise constraints, avoid electrics and focus on hand stones (they're silent and give you the richest feedback).
Portable Workflow in Practice
A full sharpening cycle on one knife takes 15-20 minutes once your station is assembled. Most mobile sharpers work in batches: sharpen four to six knives per week rather than all at once. This spreads skill-building and lets you notice incremental improvements.
The compact setup also creates accountability. Dull knives sit in plain sight, not hidden in a drawer. You reach for your kit more often because the friction is gone. And that habit (frequent, low-pressure sharpening) is where edges stay sharp and technique deepens.
Final Checkpoint: Test Your System
Before relying on your mobile station, do a dry run at home. Sharpen one knife using your full sequence, your guides, and your test. Time yourself. Count passes. Write down what you notice. Then take the whole station (container, stones, guides, water) to a different room or location and repeat. The goal is to verify that your system works outside a familiar environment and that setup time is under five minutes.
Portability is only valuable if execution is still reliable. Control the angle, control the outcome, and a mobile station proves that you can do both anywhere.
Related Articles