Straight Razor Stropping: Master the Maintenance
By Anika Rao • 4th Apr
Knife sharpening often conjures images of whetstones and honing oils, but for straight razor users, the maintenance equation shifts entirely toward razor strop techniques, a discipline that demands precision, repetition, and an almost meditative focus. Unlike sporadic blade maintenance, stropping is your weekly (sometimes daily) ritual. Master it, and your edge sustains itself for months. Skip the mechanics, and you'll chase dullness while wondering where your money went.
Here's the reality: stropping is not sharpening. It's edge realignment, and that distinction matters more than marketing suggests. For a deeper breakdown of how stropping and sharpening differ, see our honing vs sharpening guide. Understanding what stropping actually does (and what it cannot) separates the users who maintain razor-sharp edges from those who blame their tools for early failure.
The Core Mechanics: Stropping vs. Honing
When you run your straight razor across a leather strop, you're not removing steel. Instead, you're lifting a microscopically bent edge (called the burr) back into alignment[1]. Each shave stresses this burr; it bends slightly during cutting. Leave the blade to rest for 48 hours after shaving, and the steel's natural "memory" helps realign it partially on its own[1]. Stropping accelerates that recovery[1].
Honing, by contrast, involves stropping compounds (often red or black paste applied to treated leather), which do remove microscopic amounts of steel[2]. This becomes necessary when regular stropping stops delivering sharp edges; the paste abrasives restore the apex by minor material removal[2]. The key measure: strop with paste only when your razor begins to pinch during shaving, not at arbitrary intervals[2].
For apartment dwellers and noise-conscious users, this distinction is a gift. Stropping requires minimal force, no moving parts, no electrical hum, and fits on a drawer-mounted tray. The cleanup? A soft cloth and 90 seconds. The footprint? Smaller than a cutting board. The noise? Zero[3]. That constraint (small space, quiet hours) isn't a limitation; it's a design freedom stropping offers that whetstones or electrics never will.
The Stropping Workflow: Setup, Execution, Storage
Secure Mounting
Begin by ensuring your strop is mounted on a strong, secure attachment point[3]. A hook mounted into a stud is ideal; a tension rod in a shallow drawer works for compact apartment setups. The strop must be pulled taut[1]; a loose strop introduces inconsistency and risks damaging your blade's edge[1].
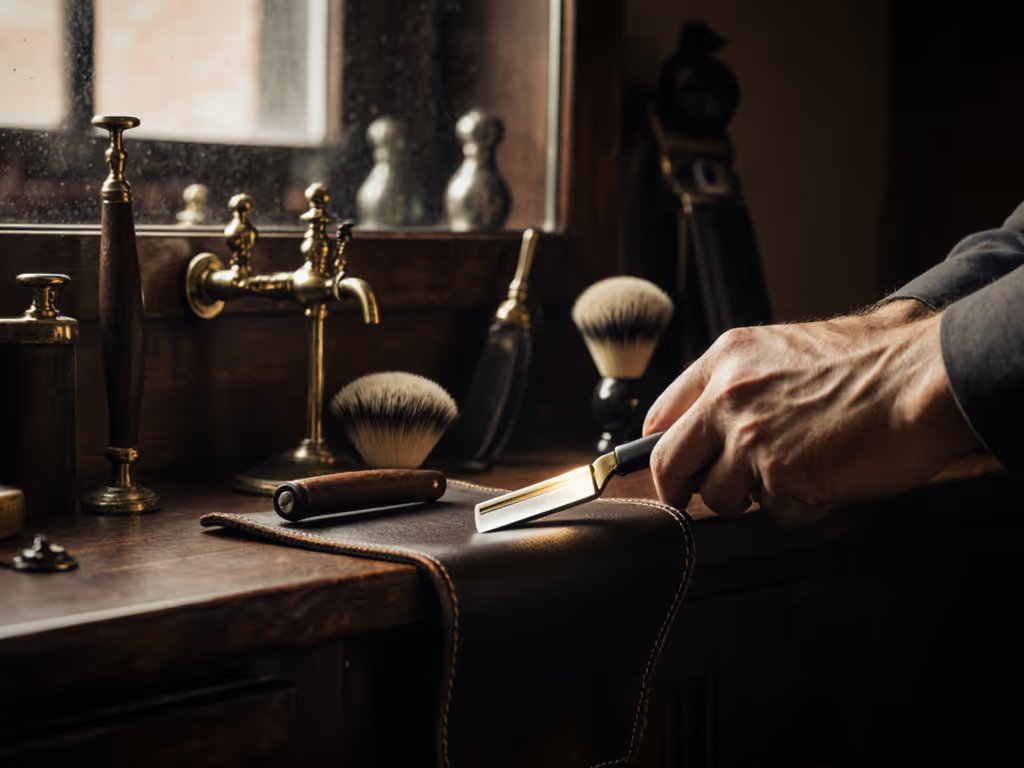
The Stroke Sequence
Hold your non-dominant hand on the strop's free end, keeping tension steady[3]. With your dominant hand, rest the straight razor flat on the leather so the spine touches first, then gently lower the edge to make contact[2]. This spine-leading angle is critical, as it ensures consistent contact across the edge[3]. For a step-by-step walkthrough of strop fundamentals, see our leather strop technique guide.
Now pull the blade toward your non-dominant hand, moving the razor slightly diagonally across the leather to cover the entire edge length[2]. The spine and edge must maintain constant contact with the strop throughout[2]. Apply minimal pressure, let the leather do the work[1].
When you reach the end of the strop, stop without rotating the blade. Flip it gently over its spine[1], and reverse direction. Repeat this back-and-forth motion for 10-15 passes on each side for daily maintenance, or 30-40 passes if stropping before a shave after several days[4]. Slower, deliberate strokes outperform rushed ones[4].
Cleanup & Storage
Once finished, pat the blade dry with a soft cloth. Never wipe the edge with paper or rough material, as this quickly dulls the apex[5]. If you won't shave soon, apply a single drop of acid-free, viscous oil (camellia oil is industry-standard) to prevent corrosion[2]. Store the closed razor in a cool, dry place, away from humidity or direct sunlight[1].
This tray workflow (mount, stroke, pat, store) takes 5 minutes and generates zero mess or noise, making it one of the few daily maintenance routines that respects apartment neighbors and early morning sanity.
Angle Consistency: The Data Point That Separates Results
One of the most common failures in home stropping is inconsistent blade angle. The spine naturally guides the angle, but if you tilt the handle up or down mid-stroke, the edge contacts the leather at different heights. Over 10-15 strokes, small angle deviations compound, leaving sections of your edge insufficiently realigned[3].
To test consistency: after stropping, look at the blade edge under bright light. A uniform, mirror-like reflection across the entire edge width indicates good contact. Dull patches or varying shine suggest angle drift. Practice the motion with an unloaded blade first (just spine, no edge pressure) until the motion becomes muscle memory rather than conscious thought[3]. If angle concepts feel fuzzy, this angles demystified primer clarifies how small deviations change edge behavior—even in tight, small-kitchen setups.
This angle accountability matters because it determines whether stropping actually extends blade life or simply delays the inevitable. Precision in every stroke is the difference between monthly honing and quarterly.
Strop Maintenance: The Often-Forgotten Step
Your strop is not a passive tool; it demands its own maintenance or it will fail your blade. Before each stropping session, rub your hand across the leather to remove dust and dirt, since even small particles can deform your edge[1].
At regular intervals (monthly for frequent users), massage a care product into the leather using gentle thumb pressure[1]. This prevents drying, preserves flexibility, and extends strop life indefinitely. Never store your strop in damp environments like bathrooms or in direct sunlight[1]; UV and moisture degrade the leather's ability to realign edges evenly.
If you apply stropping compounds (paste), allow 24 hours of curing before using the strop again[6]. Using it immediately will transfer the paste directly onto your blade, creating more cleanup and frustration than value[6].
When to Escalate: Stropping with Paste
Regular stropping on untreated leather maintains a sharp edge indefinitely, for typical users. However, if stropping stops producing cutting-ready edges, the blade apex needs actual restoration. That's when you move to a second strop treated with red paste, stropping about 15 times each side[6]. Red paste performs initial apex restoration; follow up with black paste (15 times each side) for finishing[6]. To explore compounds, substrates, and pressure control beyond leather, see our advanced edge polishing guide.
After paste stropping, move back to untreated leather for 5-10 passes to clear any residue[6], then thoroughly clean the blade before storage[2].
The practical trigger: only strop with paste when your blade begins to pinch during shaving[2]. Guessing "it's probably time" wastes steel and compounds. Waiting for measurable performance loss is how constraint-aware maintenance works, you act on data, not calendars.
Storage & Long-Term Readiness
For EDC users or cooks maintaining multiple blades, organization becomes part of the workflow. Store your strop in a designated drawer or cabinet with your razor, oil, and brush. Keep everything on a single shallow tray if space is limited; this containment prevents lost items and makes the ritual frictionless.
Sharp edges, quiet nights, zero countertop drama or cleanup, this is what disciplined stropping delivers when constraints shape your system rather than defeat it.
Going Deeper: The Path Forward
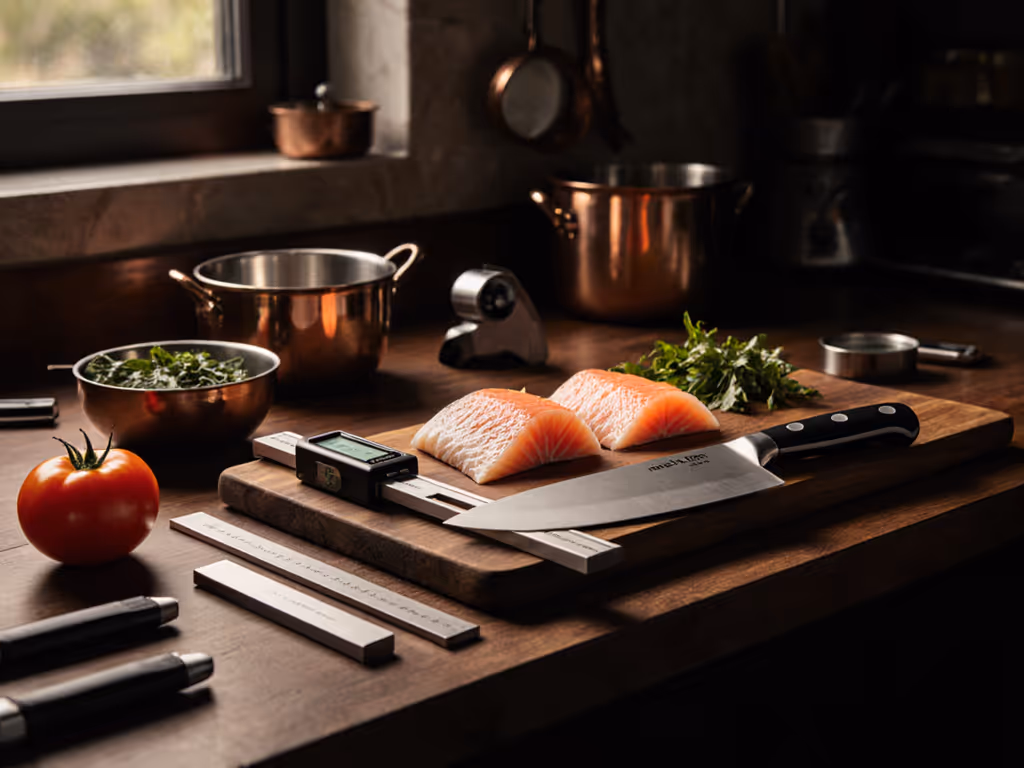
Stropping is both foundational and deceptively deep. The mechanics are simple; consistency is the gatekeeper. If you're looking to refine your technique further, consider testing your edge after stropping using tactile tests (the hanging-hair test) or visual inspection under bright light. Measure your blade angle with digital calipers before and after stropping to verify you're maintaining precision[2].
For those who maintain multiple blades (kitchen knives, EDC tools, professional straight razors), the stropping principles translate directly; only the scale and attachment points shift. Explore how the same workflow discipline applies across your collection, and you'll notice that consistency compounds: better baseline maintenance means less intensive honing, lower consumable costs, and longer blade life across the board.
Your next step: commit to 30 days of deliberate stropping with focused attention to angle and spine contact. Track whether your blades feel sharper, last longer between honing, or require less aggressive paste strokes. The data speaks louder than tradition.
Related Articles