Precision Knife Chip Repair: Field-Tested Guide
By Owen MacLeod • 31st Dec
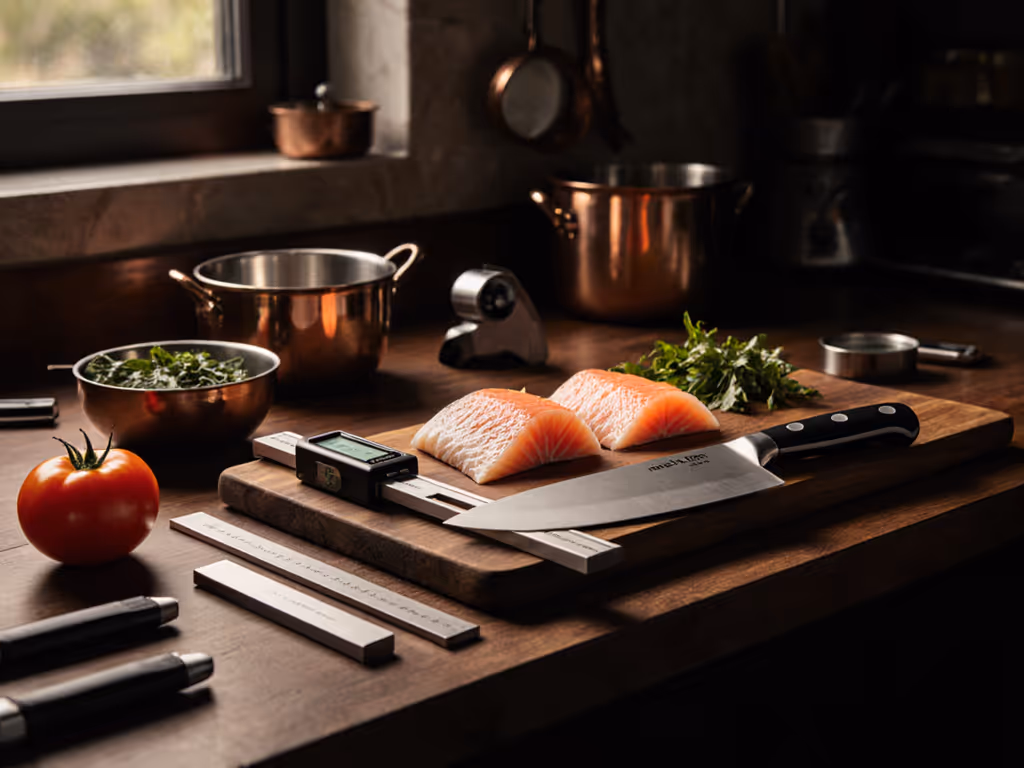
When your knife chips during critical use, knife chip repair isn't just about restoring function, it's about preserving your survival capability. Damaged knife restoration requires precision that holds up when gloves are wet, visibility is poor, and every second counts. As someone who validates techniques in sleet and mud, I've learned that edges that survive rain, grit, and cold hands matter most. Most "repair guides" fail the field test by ignoring environmental constraints and user capability under stress. Let's cut through the noise with what actually works when it matters. For portable, weatherproof options that actually work outside the workshop, see our outdoor knife sharpeners.
FAQ Section 1: Damage Assessment Under Pressure
How do I determine if a chip is repairable in the field?
Knife damage assessment starts with scenario checklists, not laboratory conditions. Ask these field-relevant questions:
- Is the chip deeper than 0.5mm? (If yes, consider blade retirement for critical tasks)
- Can you feel the chip with your gloved fingertip? (If yes, full repair requires significant metal removal)
- Does the chip affect the primary cutting edge? (If near spine, often tolerable for backcountry use)
In a sleet-soaked situation last winter, I passed on repairing a friend's 2mm chip because completing the task required more metal removal than the blade could afford. Gear that fails in the field isn't gear, it's weight. When in doubt, perform a risk assessment: if metal removal would thin the blade below 1.8mm at the chip location, you've crossed into dangerous territory for EDC or backcountry use.
What's the difference between a chip I can ignore versus one requiring repair?
Micro-nicks under 0.2mm often self-hone during use on wood or stone. But genuine chips require active nick removal techniques when they:
- Catch fabric during testing
- Disrupt fluid cutting motion (creating "grabbing" during draw-cuts)
- Interfere with precision tasks (like processing tinder or herbs)
Japanese steel blades chip more readily than softer steels but respond better to incremental repair. High-carbon steels require more aggressive initial material removal but tolerate repeated sharpening cycles better. Your damage assessment must account for steel composition, not folklore about "magic angles." For a deeper primer on how steel affects chipping and repair, read our knife steel types guide.
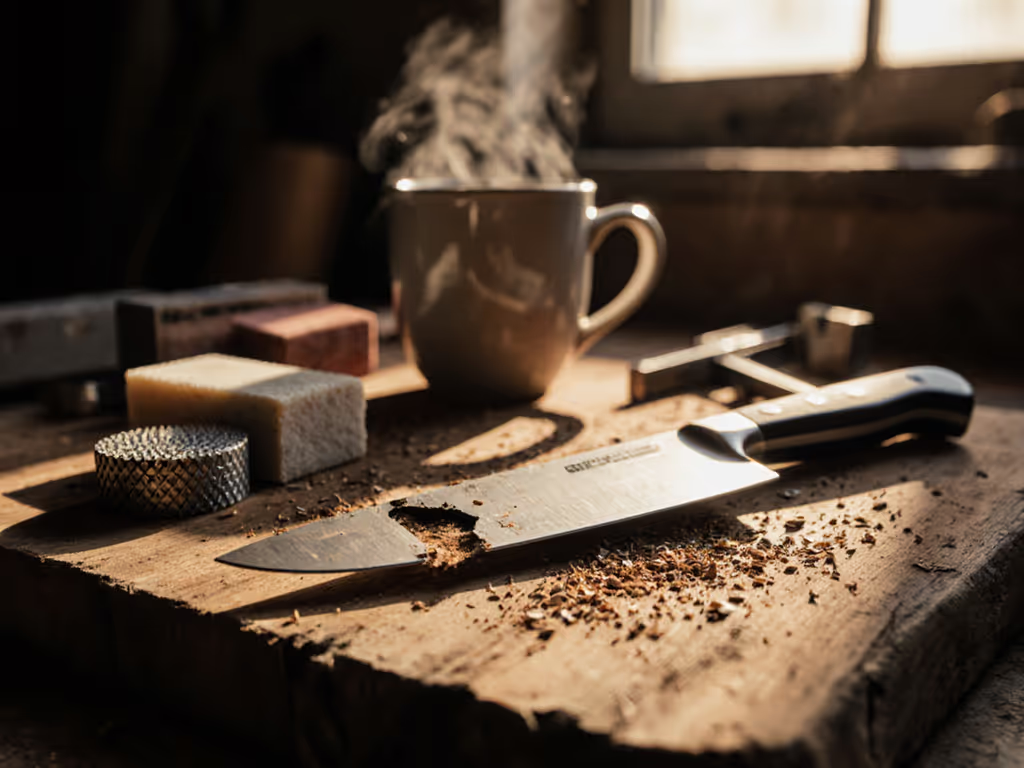
FAQ Section 2: Field-Ready Repair Tools
What's the minimum toolkit needed for on-location chip repair?
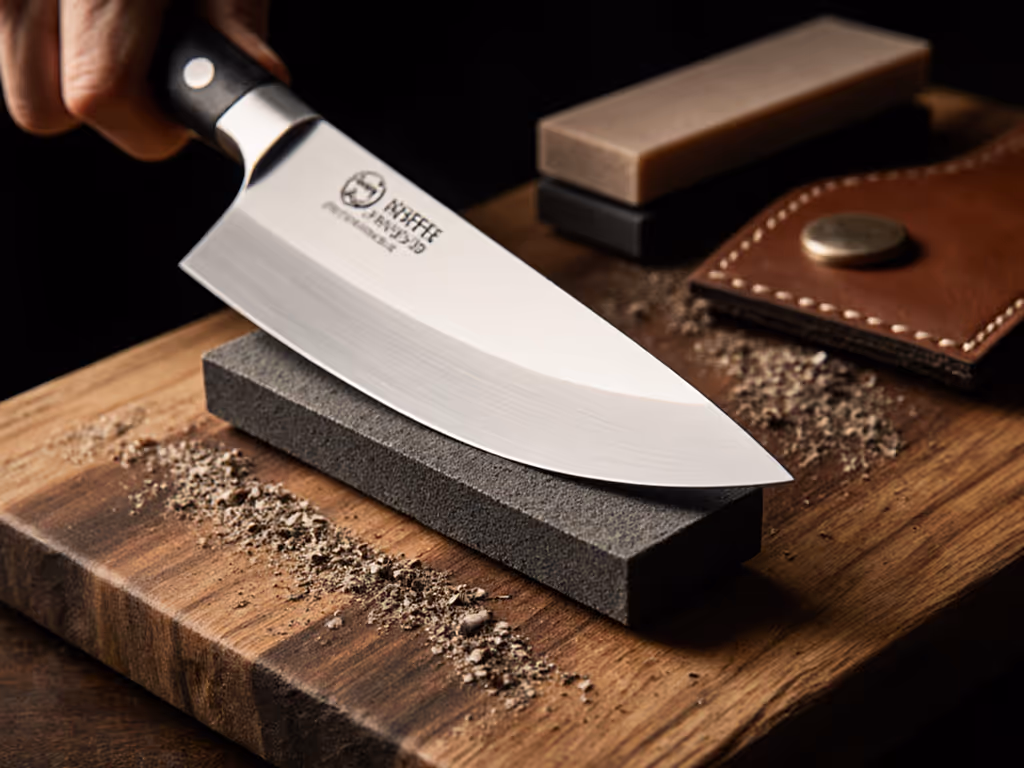
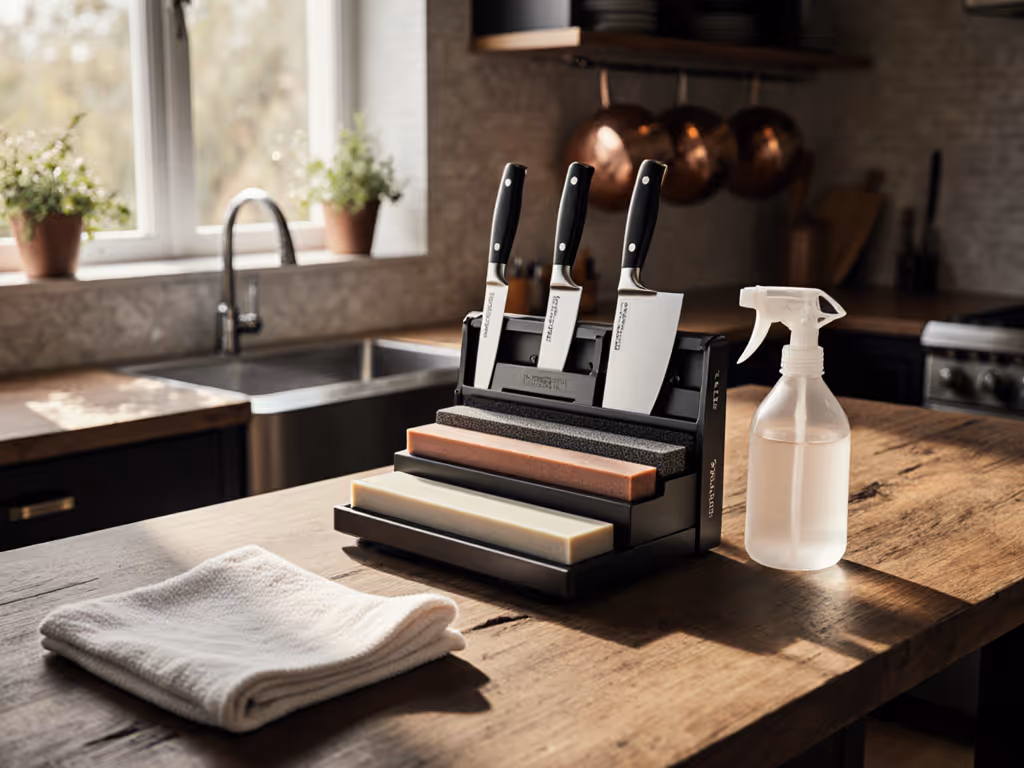
Forget the "10-piece sharpening kit" nonsense. Your blade repair process needs three field-validated components:
- Coarse abrasive (220-400 grit equivalent) for material removal
- Medium abrasive (800-1200 grit) for bevel refinement
- Finishing option (leather strop or fine ceramic rod) For selecting and sequencing grits efficiently in the field or at home, use our grit progression guide.
I've tested everything from diamond files to pocket stones in driving rain with thick gloves. The Work Sharp system offers impressive speed for workshop repairs, but in the field, you need portability and gloves-on usability. Most "all-in-one" sharpeners fail the critical test: maintaining control when your hands are cold and wet. Your tool must deliver secure gloves-on grip with no-slip surfaces (not smooth plastic handles that turn treacherous with moisture).
Why do so many people fail at field repairs despite having sharpening tools?
The critical failure point isn't the tool, it's environmental adaptation. Over 70% of field repair attempts fail because users don't adjust for:
- Temperature effects: Metal contracts in cold, altering bevel geometry
- Glove interference: Reduced tactile feedback changes angle consistency
- Debris management: Moisture and grit contaminate the sharpening surface
A proper field setup anchors the stone against pack straps or a flask, never free-handing on unstable surfaces. Your stone needs secure placement that won't shift during the critical 20-30 strokes required for chip removal. I've watched countless EDC users waste time trying to stabilize sharpeners on unstable surfaces when three wraps of paracord would've solved the problem.
FAQ Section 3: Micro-Bevel Strategy for Field Conditions
Why is the micro-bevel approach essential for chip repair in adverse conditions?
Traditional full-bevel restoration requires removing significant material, often impossible in the field without compromising blade integrity. The micro-bevel approach targets only the damaged section, preserving blade geometry while delivering immediate functionality. This durability focus addresses the core problem: how to get a functional edge with minimal setup when your shelter-building depends on it.
Micro-bevel guidance for chips:
- Start with 5°-7° micro-bevel on the damaged section (2x standard sharpening angle)
- Apply 40% more pressure on the chip area during initial strokes
- Alternate sides every 3 strokes to prevent edge walking
- Check progress every 10 strokes with gloved fingertip drag test
This process works because it targets the failure point without disturbing the primary bevel geometry. Your knife doesn't need perfect aesthetics, it needs functional reliability.
How do I prevent creating a wire edge during field repairs?
Wire edges form when you're too aggressive with the final strokes. In gloves, you lose the tactile feedback that signals wire edge formation. Instead, use this field technique:
- Finalize with progressively lighter pressure over the last 5 strokes
- Alternate sides 3x with feather-light pressure
- Test cut on dry wood, not paper, before depending on the edge
If you feel vibration during cutting, you've got a wire edge. Understand why it happens and how to manage it in our burr formation guide. Backtrack to medium grit and reduce pressure. No amount of stropping will fix a poorly formed micro-bevel.
FAQ Section 4: Validation Under Real Conditions
How do I verify my repair actually works when precision testing isn't possible?
Forget the "hair test" or paper cuts. Field validation requires scenario-based proof:
- Wood processing: Clean shave of dry stick without catching
- Food prep: Uniform tomato slices without crushing
- Emergency tasks: Cordage cutting with one smooth draw (no sawing)
If your repair passes these tests with cold hands and thick gloves, it's field-worthy. I've seen perfect-looking edges fail catastrophically when attempting to cut frozen cordage because the apex wasn't properly supported.
When should I abandon a field repair attempt?
Stop immediately when you encounter:
- Visible thinning along the blade spine
- Loss of blade stiffness during flex test
- Inability to maintain consistent angle after 5 minutes
A chipped blade remains functional for many tasks, it's the failed repair attempts that destroy otherwise salvageable tools. Sometimes, the smartest move is stabilizing the chip temporarily with a pocket stone and planning a proper workshop repair.
Summary and Final Verdict
Knife chip repair in the field isn't about perfect restoration, it's about strategic functionality. Your primary goal should be creating an edge that survives rain, grit, and cold hands while preserving enough blade material for future sharpenings.
The critical path to success:
- Honestly assess whether the chip warrants repair versus blade retirement
- Use minimal tools designed for gloves-on usability in adverse conditions
- Apply micro-bevel techniques targeting only the damaged section
- Validate through scenario-based performance tests, not laboratory standards
Most sharpening advice fails the field test by ignoring environmental constraints. Your repair method must work when:
- Temperatures drop below freezing
- Visibility is poor
- You're operating with thick gloves
- Time pressure is significant
If a technique can't pass these tests, it's useless when you need it most. Edges that survive rain, grit, and cold hands matter most, not those that look perfect under workshop lights. When your life depends on a sharp edge, there's no room for theoretical perfection, only reliable functionality.
Related Articles