Micro-Bevel Sharpening: Strengthen Your Edges
By Sora Tanaka • 11th Mar
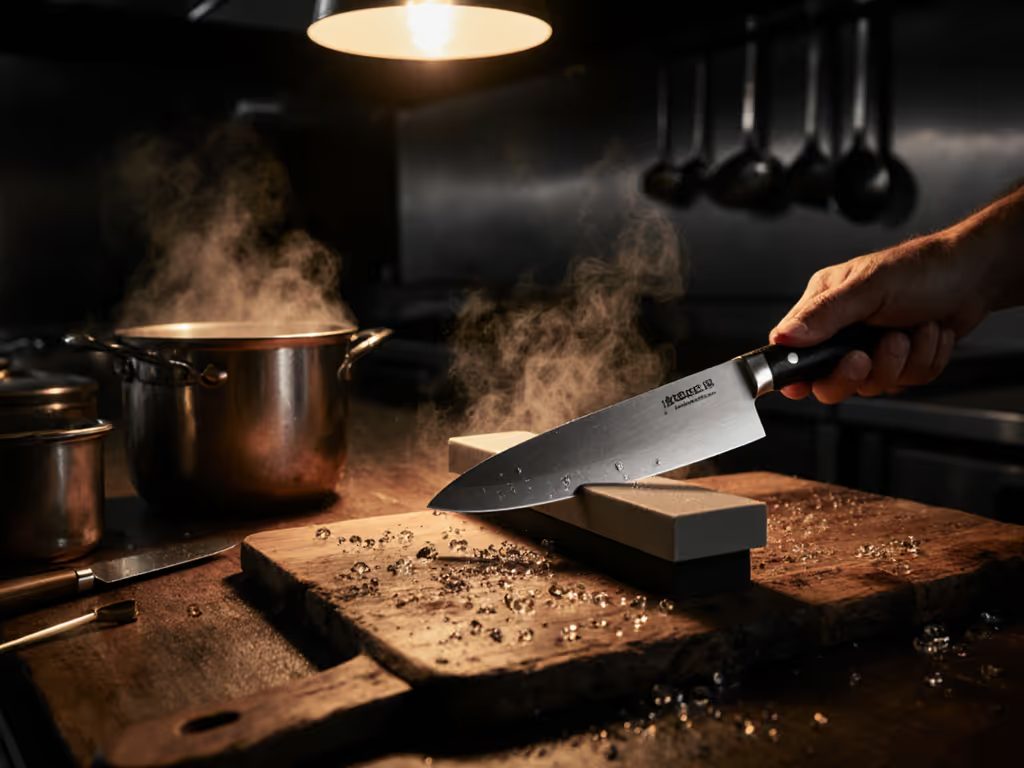
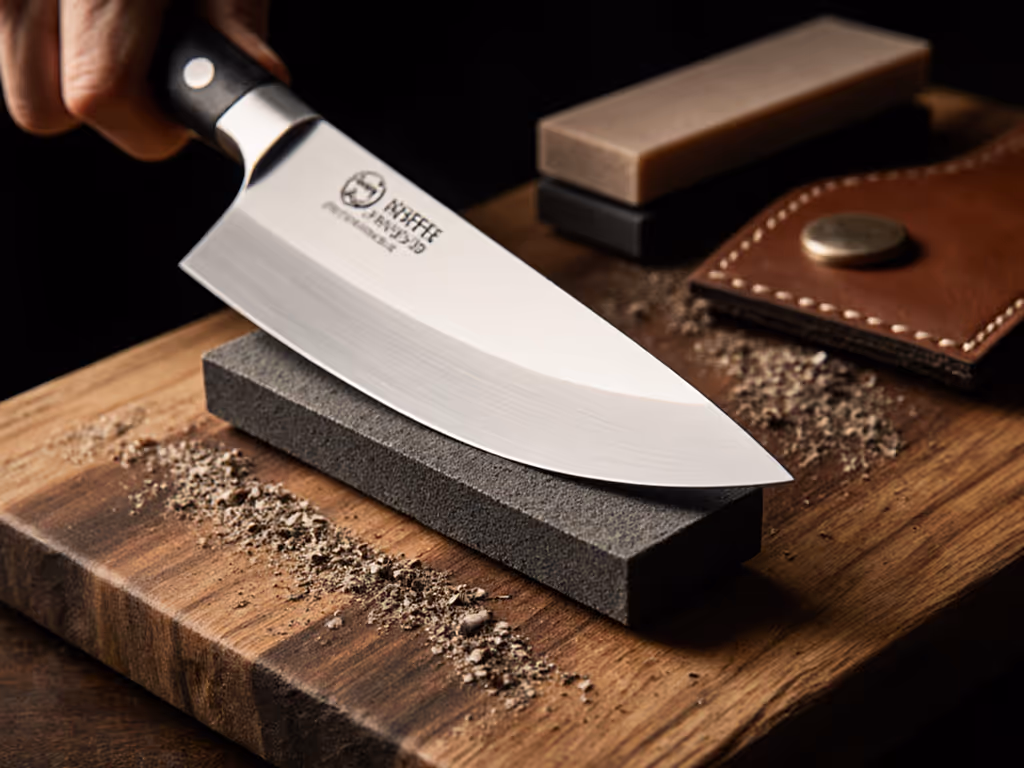
Micro-bevel knife sharpening transforms a fragile, paper-thin apex into a durable edge that performs longer and cuts more consistently. By adding a secondary bevel at a steeper angle, you create a reinforced cutting edge that resists chipping while maintaining sharpness, the balance between geometry and edge durability enhancement that separates maintenance work from rescue missions.
When I was learning under an older sharpener, my first months involved nothing but a single 1k stone and cheap stainless knives. The real lesson came not from the stone, but from listening: when the burr changed from a grinding whisper to a clean, aligned hum, I understood that feedback (not speed) was guiding me. That same principle shapes how I teach micro-beveling today. Control the angle, control the outcome: steel tells the truth.
Why Micro-Bevels Matter More Than You Think
Most home cooks sharpen to a primary angle, typically 15 to 20 degrees on one side. This geometry cuts well, but the resulting edge is mathematically delicate. Place it against a cutting board at an angle, and the ultra-thin apex can fold or chip. A micro-bevel adds a small, secondary bevel at a higher angle (usually 30 to 40 degrees) right at the very tip of the blade.
The practical result: your knife cuts cleanly, resists snags in tougher materials, and the edge lasts longer between sharpenings. You're not sacrificing sharpness; you're trading a whisper of cutting performance for measurable durability. In a busy kitchen, that trade compounds over weeks and months.
Control the angle, control the outcome: steel tells the truth.
Microscopic testing reveals the difference starkly. A micro-beveled edge examined at 500x magnification shows a smooth, uniform surface with evenly spaced structure, while an un-beveled edge appears rough and irregular. At higher magnification, the micro-bevel edge remains sharp and well-defined, ideal for precise cuts, while the alternative shows a coarse, unstable surface. This isn't marketing: it's geometry meeting edge durability.
Understanding Primary Versus Secondary Bevel Techniques
Before adding a micro-bevel, you must clarify your primary bevel. Most kitchen knives begin life with a factory primary bevel between 15 and 20 degrees (per side, inclusive of both sides). Some blades arrive at 30 degrees or higher; inspect yours first.
Primary bevel: The main cutting surface, responsible for slicing efficiency. This is where you spend most of your sharpening time during routine maintenance.
Secondary bevel (micro-bevel): A narrow, secondary surface created at a steeper angle (typically 30 to 40 degrees), applied only at the very apex. Its footprint is slim, measured in fractions of a millimeter.
The distinction matters because maintenance work targets the micro-bevel first, extending the life of your primary geometry. When the micro-bevel dulls, you hone it and progress through grits; only when it swells to an awkward width do you reset the primary angle. If you're unsure when to hone vs sharpen, this quick guide clarifies the difference. This disciplined approach means fewer trips to the 1k stone and longer intervals between full re-profiles.
Step-by-Step: Creating Your First Micro-Bevel
Step 1: Establish Your Primary Bevel (Checkpoint)
If your blade is new or factory-sharp, skip this. If it's dull, establish a consistent primary edge first at your chosen angle (15-20 degrees for most kitchen knives). Use a mid-grit stone (1000 to 3000) and stroke until you feel a consistent burr form along the entire edge. This burr (a tiny, raised wire of steel) is your feedback cue that the primary bevel is fully refined. For the why behind burrs and how to manage them cleanly, see Burr Formation Science.
Checkpoint: Run your thumb lightly perpendicular to the edge (not along it). You should feel a uniform, hair-like burr from spine to tip. If it's spotty, continue stroking the primary.
Step 2: Select Your Micro-Bevel Angle
For most carbon and stainless kitchen steel, a micro-bevel between 30 and 40 degrees is ideal. If your knife sees heavy board contact (chef's knife, nakiri), lean toward 35-40 degrees for durability. For finesse work (sashimi, vegetable cuts), 30-32 degrees is lighter and sharper.
Feedback check: Know your stone. If using a guided system or honing jig, consult the angle markings. If working freehand, visualize the angle between your primary (15 degrees) and the new micro-bevel. The steeper raise should be visibly noticeable.
Step 3: Lighten the Finishing Passes on Your Chosen Stone
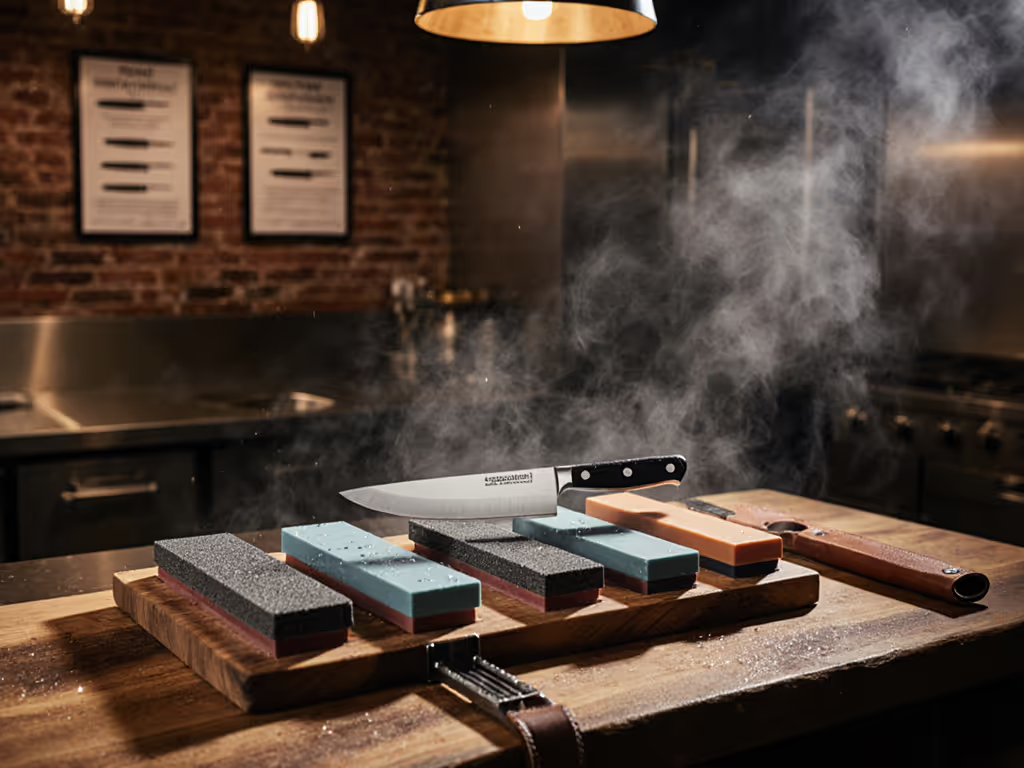
Select your finest stone for micro-bevel work (10,000 grit or higher). To dial in stone order and pressure, follow our grit progression guide. Raise the blade's spine to your target micro-bevel angle. Use moderate pressure for 2-3 passes, then lighten the finishing passes as you feel the burr sharpen and smooth.
Why lighten? Light pressure keeps the burr thin and aligned. Heavy pressure at the finish deforms it, leaving a ragged wire that feels dull when you test.
Checkpoint: After each light pass, feel the burr with your thumb. It should sharpen progressively, becoming more defined and less floppy. If it's growing thicker, ease your pressure further.
Step 4: Return to the Primary Bevel Side
Flip the blade and make 2-3 very light strokes on the same fine stone at your primary angle (15-20 degrees). This clears any hanging burr on the back side (the residual wire left from the micro-bevel work).
Checkpoint: After flipping, the burr should feel thin and uniform again. A hanging burr will make the edge feel dull in one direction; if that occurs, repeat Step 4 until it disappears.
Step 5: Test for Success
A properly executed micro-bevel should:
- Cut paper cleanly from the tip to the heel without snagging or tearing.
- Glide along a fingernail smoothly without catching, indicating a uniform, sharp edge.
- Resist edge-catching when slicing firm foods (tomatoes, squash, chicken breast) without requiring excessive pressure.
Feedback test: Slice a sheet of copy paper at a 45-degree angle. If the knife glides through effortlessly, the micro-bevel is correctly applied. If it struggles or tears unevenly, the edge may be too blunt; try a slightly sharper micro-bevel angle (30 instead of 35) next time.
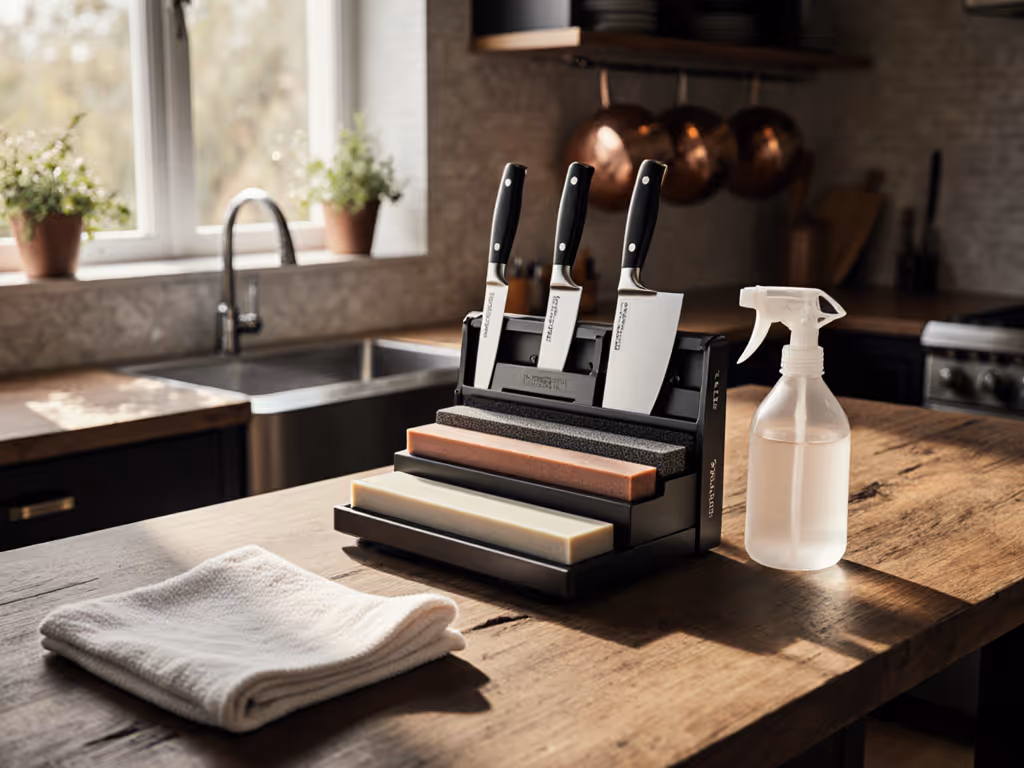
Maintenance: Keeping Your Micro-Bevel Sharp
Once created, your micro-bevel becomes the first line of maintenance. When the knife dulls after daily use, sharpen the micro-bevel at its original angle using a medium grit (3000-5000) until you feel a thin burr reform. This takes minutes and requires minimal steel removal.
Maintenance checkpoint: If the micro-bevel burr forms after 3-5 strokes, your edge is still young. If it takes 15+ strokes, the micro-bevel is swollen and ready for repriming on a 1000 grit.
Only when the micro-bevel grows too wide (a visual judgment that comes with practice) should you return to the primary bevel angle and reset the whole system. This discipline (sharpening the secondary bevel, then resetting the primary only when necessary) stretches the time between full re-profiles and preserves blade life.
Building Consistency Through Deliberate Practice
Mastery here is not about speed. Three knives sharpened carefully, with clear feedback at each checkpoint, teach more than ten knives rushed through a session. Record your angle, stone grit, and stroke count for each blade. Over time, patterns emerge: how many passes feel right for your pressure style, what burr density signals readiness, how long a micro-bevel stays effective before maintenance.
This measurable feedback loop (the core of lasting skill) transforms sharpening from a dreaded chore into a calm, methodical practice you'll actually look forward to.
Next Steps: Deepen Your Edge Geometry Knowledge
Your first micro-bevel is a beginning, not an endpoint. To see how flat, convex, and hollow grinds influence micro-bevel performance, read Edge Geometry Explained. Once you're comfortable with the basics, explore variations: trying a 25-degree primary with a 35-degree micro-bevel for a lighter geometry, or experimenting with convex micro-bevels for outdoor/hunting knives. Visit specialist forums and stone communities; ask others what micro-bevel angles they've found work best for your steel types (carbon versus stainless, soft versus hardened).
Watch your knives under magnification if you can (even a basic loupe reveals the geometry you're building). The stone is honest; steel tells the truth. Your feedback loop, refined through deliberate practice, will refine your hand.
Related Articles