Master Convex Edges: Geometry & Sharpening
By Sora Tanaka • 24th Apr
Convex edge geometry and proper knife sharpening technique are foundational skills for anyone serious about blade maintenance, yet they remain widely misunderstood. A convex edge differs fundamentally from the flat bevels most people learn first; it curves gently along the cutting surface, and sharpening it requires a different mental model entirely.
Years ago, I spent Saturday mornings under the mentorship of a sushi chef's retired sharpener. He made me chase a clean burr on cheap stainless using only a 1k stone, session after session. For months, the feedback felt inconsistent. Then one morning I heard it: a whisper-thin change in the sound of steel meeting stone. That's when precision became real. The burr wasn't just a target; it was the stone's honest voice telling me the angle was true. This is the principle that underlies all convex sharpening: control the angle, control the outcome. Steel tells the truth.
Understanding Convex Edge Geometry
A convex edge differs structurally from a flat grind. A flat grind maintains the same angle from spine to edge; a convex vs flat grind distinction matters because convex edges eliminate the angular shoulder that flat bevels create. This geometry offers two critical advantages: a stronger, more durable edge and, paradoxically, superior cutting smoothness because the curved geometry distributes stress along the blade rather than concentrating it at a sharp corner.
Convex edges are popular for bushcraft knives, outdoor tools, and heavy-duty kitchen work because they balance sharpness with edge retention. The curve runs across the entire blade face, making maintenance more forgiving than flat geometry (provided you understand how to work with it).
Importantly, do not confuse convex edge geometry with convex blade grind. A convex blade grind refers to the overall profile of the blade from spine to edge; a convex edge refers only to the cutting bevel itself. This distinction matters when you're evaluating your knife and planning your sharpening approach.
The Geometry of Convex Construction
Most convex edges are built on a foundation of primary and secondary angles. A common construction uses a primary edge angle around 18 degrees with secondary angles that gradually increase to 20-22 degrees, melded together smoothly to form the convex curve. These angles are not fixed during sharpening: they're guidelines that establish the primary edge, while the secondary angles blend together to form the shoulder.
The key checkpoint: you're not maintaining a single angle like you would on a flat bevel. Instead, you're maintaining a curve that progresses outward from the spine. This shift in thinking is where most practitioners falter. Your feedback mechanisms must change accordingly.
Step-by-Step Sharpening Process
Step 1: Assess the Current Edge
Before you begin sharpening, examine the blade carefully. Use a marker and color the entire blade to see which spots you have and have not sharpened. This visual checkpoint prevents the common mistake of unevenly working the blade.
Check for edge damage (dents, cracks, or rolled sections) and assess how much material needs removal. If the edge is simply dull and the geometry is intact, you'll proceed with maintenance sharpening. If the geometry has degraded, you'll need to re-establish it.
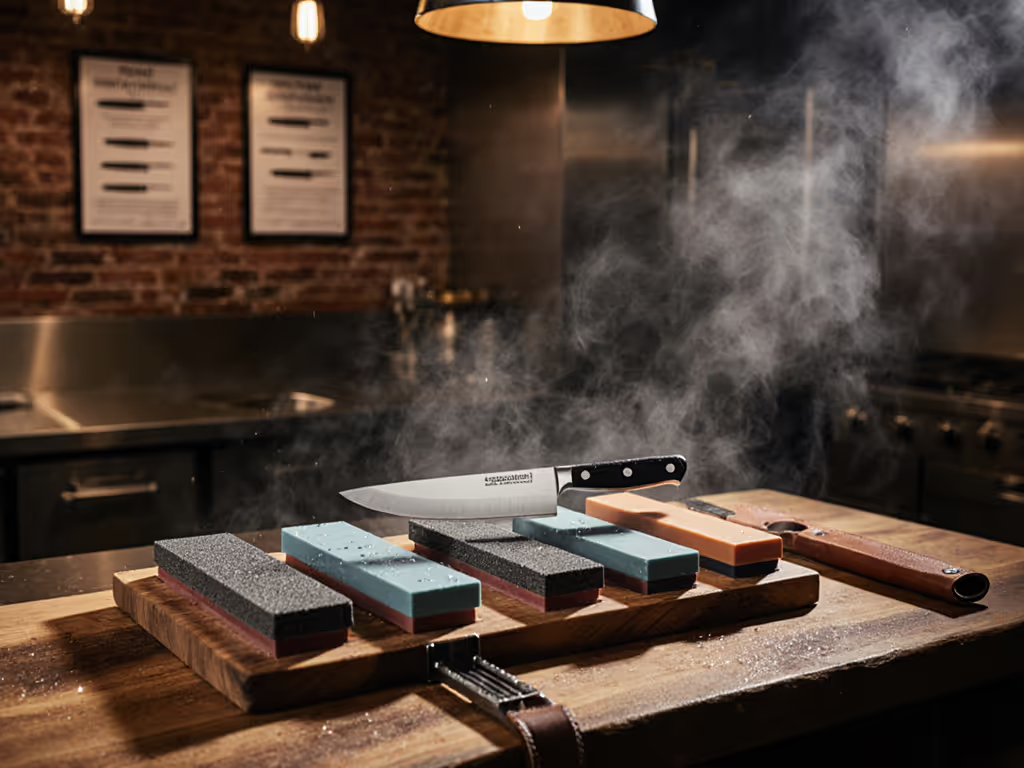
Step 2: Select Your Abrasive
Convex edges respond best to bench stones, particularly in the 1,000-3,000 grit range for re-profiling and the 4,000-8,000 grit range for finishing. The stone's surface should be flat and stable. If your stone is curved or worn, flatten it first. This is a non-negotiable maintenance step that directly affects your feedback.
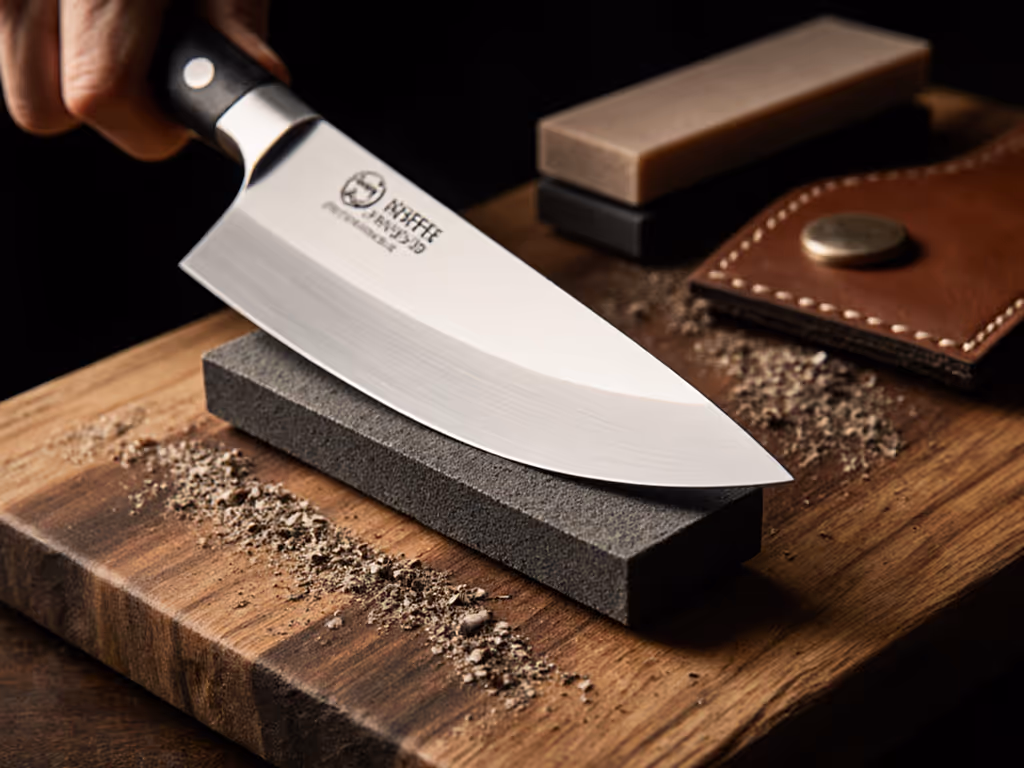
Step 3: Adopt the Rocking Motion
The core technique for sharpening convex edges is a controlled rocking motion across the entire blade. Unlike flat-bevel sharpening, where you hold a static angle, convex sharpening requires you to smoothly vary the angle as you move along the blade's curve.
Here's the checkpoint sequence:
- Place the blade spine-down on the stone at your target primary angle (approximately 18 degrees for a standard convex edge).
- Apply steady, light pressure.
- Rock the blade forward and backward along the stone in one smooth motion, moving the handle slightly upward as you stroke toward the tip. This increases the angle incrementally, matching the convex curve.
- Return the blade to the spine-down position and repeat.
- Work the entire blade (from heel to tip) in each pass, not just the edge. The curve extends well into the blade face, and sharpening only the cutting surface leaves the geometry incomplete.
Your feedback checkpoint: listen for a consistent sound from stone contact. Any irregularity signals an angle mismatch. Feel the stone's resistance: it should be steady and predictable.
Step 4: Raise a Clean Burr
Continue stroking until you raise a clean burr across the entire blade. This burr (a microscopic curl of steel folded to the non-beveled side) confirms that you've reached the apex on the entire curved surface. Don't rush this phase. A properly formed burr is uniform and audible; you can feel it whisper against your thumbnail. This is your confirmation that geometry and angle alignment are correct.
Checkpoint: inspect the blade under light. The burr should catch light uniformly from heel to tip. Any dark spots indicate sections where the burr hasn't formed (these areas need additional passes).
Step 5: Progress to Finer Grits
Once the burr is established on your working stone, move to a finer grit (e.g., 3,000 to 4,000). Repeat the rocking motion with the same angle progressions, but use fewer passes, typically 5-10 per side, depending on the blade condition.
Finish on your finest stone (6,000-8,000 grit or finer) to refine the edge polish and seal the geometry. The rocking motion remains consistent; only the grit changes. For a deeper dive into sequencing, study our grit progression guide.
Convex Edge Maintenance
Once your edge is sharp, maintenance becomes the priority. Most wear occurs at the apex, not along the curve. A stropping routine using fine leather maintains edge sharpness between full sharpening sessions.
For convex edge maintenance, consider a lightweight portable strop made from a paint stick and leather strips glued to both sides. This compact rig is ideal for field users and allows quick touch-ups without the mess of stones.
Traditional Scandi sharpening principles apply here: consistency over speed. Touch up frequently rather than letting the edge degrade significantly. A dull edge refreshed in five minutes is better than waiting until full re-profiling becomes necessary.
Key Checkpoints for Consistency
- Angle stability: Each pass should feel identical. Variation in handle pressure or trajectory creates inconsistency.
- Burr uniformity: The burr confirms apex contact across the curve. Incomplete burrs signal missed sections.
- Stone flatness: A worn stone cannot support consistent convex sharpening. Flatten your stone before every session if you work frequently.
- Progressive abrasive steps: Finer grits seal and refine the edge established by coarser stones. Skipping grits leaves micro-scratches and weakens edge durability.
- Feedback loops: Listen, feel, and observe. The stone speaks through sound and resistance; the blade reveals geometry through burr formation and light reflection.
Further Exploration
Mastery of convex edge geometry comes from deliberate practice with clear feedback. Your next step is to select a single blade (preferably a bushcraft knife or kitchen blade with established convex geometry) and commit to three sharpening sessions following this sequence. Pay attention to the sounds, the feel of the stone, and the quality of the burr. Document your observations: angle feel, burr consistency, edge sharpness before and after. This checkpoint-driven approach builds intuition faster than any shortcut.
Once you've internalized the rocking motion and burr formation on one blade, expand to other convex edges in your collection. Each steel and blade geometry will teach you something new about how steel responds to angle, grit, and consistent pressure. The stone is honest; your feedback is the teacher.
Related Articles