Food-Specific Sharpening Angles: Physics Explained
By Luis Ortega • 6th May
When I finally understood that a knife's cutting performance physics depends not just on sharpness, but on the deliberate match between angle and what you're cutting, everything clicked. Most home cooks have been told "sharpen to 20 degrees" (or 15, or 25) as if one angle fits all foods. It doesn't. A food-specific sharpening angle optimized for a tomato will feel clumsy on an onion. That isn't a flaw in your technique; it's the physics of the blade meeting different cellular resistance.
This guide walks you through the why and the how, so you can sharpen with confidence, not guesswork.
Why Angle Matters: The Physics of the Edge
An edge is a wedge. When that wedge meets food, two things happen: the blade either slices (glides through cellular walls) or crushes (breaks them). The angle determines the balance. For a deeper primer on choosing between common kitchen angles, see our 15° vs 20° angle guide.
The Geometry at Work
Think of your knife blade as a ramp. A shallow angle (like 10-15 degrees per side) creates a thin, acute wedge (excellent at slicing through delicate cell walls with minimal crushing). A steeper angle (like 25-30 degrees per side) creates a thicker, more obtuse wedge (it resists edge rolling and fracture) but requires more downward force.
Neither is wrong. The best angle for a given task is the one that:
- Slices cleanly without crushing cells and releasing juice prematurely.
- Maintains durability without rolling or chipping under the force required.
- Feels repeatable in your hand, so you're not fighting the tool.
This is where angle optimization for produce comes into play. Different foods have different cell structures, water content, and density. Your job as the sharpener is to match the edge to the task.
Start safe, then build skill, one consistent pass at a time. Small angle shifts (even 2-3 degrees) change how your knife feels in hand and how food responds.
Food-Specific Angles: What the Physics Tell Us
Tomato Cutting Angles: The Soft-Boundary Challenge
Tomatoes are mostly water, wrapped in a thin, tough skin. The cells inside are fragile.
- Skin resistance: High. The cuticle is fibrous and resists a dull or overly angled blade.
- Interior fragility: The moment you breach the skin with too much force, you crush the delicate interior cells and release juice.
Optimal angle range: 12-16 degrees per side (24-32° total bevel).
A shallow angle (12-14 degrees) glides through that skin without crushing. The wedge is thin enough that the knife separates cell walls rather than pulping them. You'll notice the difference: a clean cross-section instead of a ragged, wet mess.
When your angle creeps toward 18-20 degrees on a tomato, you'll feel the difference immediately. The knife wants to crush instead of slice. This is physics, not operator error: a thicker wedge requires more force to separate cells.
Onion Slicing Techniques: The Dense-Layered Case
Onions are the opposite challenge. Layered, dense, low moisture. The cells are tightly packed, and the layers are fibrous.
- Layer strength: High. Onion leaves resist separation more than tomato flesh.
- Moisture: Moderate; less juice release than tomato, but aromatic compounds concentrate in punctured cells.
Optimal angle range: 15-18 degrees per side (30-36° total bevel).
The slightly steeper angle than tomato gives you durability. If you want extra toughness without regrinding the whole bevel, add a light micro-bevel at 1-2° higher. You're pushing through denser material, and a thin 12-degree wedge might roll or chatter. At 15-17 degrees, you have a sweet spot: enough durability to drive through layers cleanly, but still acute enough that you're slicing, not crushing. The layers separate without the knife chattering or the layers becoming mushy.
Other Common Foods
| Food | Texture | Optimal Angle (per side) | Why |
|---|---|---|---|
| Bell pepper | Thin-walled, fibrous | 12-15° | Minimal crushing; skin separates cleanly. |
| Carrot | Dense, watery core | 16-18° | Durability for fibrous cortex; shallow enough for clean core cuts. |
| Herb stems | Tender, water-rich | 10-12° | Ultra-acute for minimal cell rupture. |
| Butternut squash | Dense, low moisture | 20-25° | Thick wedge resists rolling on hard material. |
Understanding Cutting Resistance: Cell Structure as Your Guide
Why does the same angle feel different on a tomato versus a carrot? Cell structure cutting resistance is the answer.
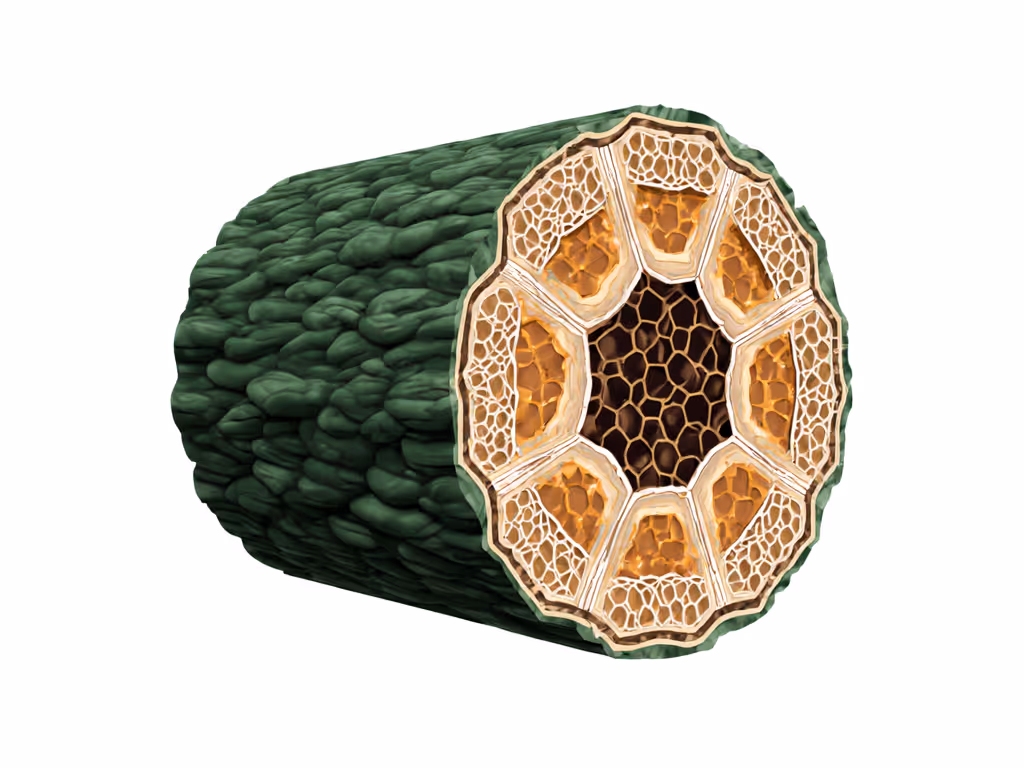
How Cell Walls Resist
Plant cells have rigid walls made of cellulose and lignin. For a physics-first explanation of sharpness and force distribution, see our edge physics guide. When a knife approaches:
- Thin walls (tomato, delicate herbs): The blade separates the wall quickly if the wedge is acute enough. A shallow angle concentrates force into a thin line, slicing rather than crushing.
- Thick walls or dense material (carrots, squash): The blade must push harder to separate the wall. A steeper angle distributes force over a wider contact surface, preventing edge collapse.
Water Content and Crushing
A food's water content changes how it responds to the wedge:
- High moisture (tomato, cucumber): Cells are turgid and fragile. Excess downward force ruptures them, releasing liquid and creating a wet, collapsed surface. A shallow angle and light touch preserve cell integrity.
- Low moisture (carrot, squash): Cells are tougher, less juicy. You can use a steeper angle and more force without pulping; the risk is edge rolling, not crushing.
This is why a single "universal" angle is a myth. The physics demand specificity. When you match angle to food structure, the knife stops fighting you, it glides. That's the tactile cue that tells you you've got it right.
Angle Optimization for Produce: Finding Your Own Sweet Spot
Once you understand the physics, you can diagnose and optimize your own angles.
The Simple Test: Visual Feedback
After sharpening to a candidate angle, test-cut a tomato. Don't just look for clean slices: observe:
- Does the skin separate immediately, or does the knife need downward pressure to breach it? If it needs pressure, the angle is too steep.
- Is the interior crushed, or intact? Crushed = too much angle or dull blade.
- Do you hear a soft glide or a high-pitched chattering? Chattering (especially on onions) often means the angle is too shallow for the food's density.
This feedback loop (test, observe, micro-adjust) is how you build intuition without expensive equipment or guesswork. To refine feel without changing angles, follow a proven grit progression that builds durable edges in four steps.
A Quick Checklist for Angle Tuning
- Start at the middle of your food's range (e.g., 14° for tomato, 16° for onion).
- Make three test cuts; keep notes on what you observe.
- Adjust by 1-2 degrees if needed; re-sharpen and test again.
- Stop when the blade glides with light pressure and leaves clean cuts.
- Write down the angle so you can reproduce it next sharpening session.
This is the budget path: safe, repeatable, and built on small wins. One consistent pass at a time.
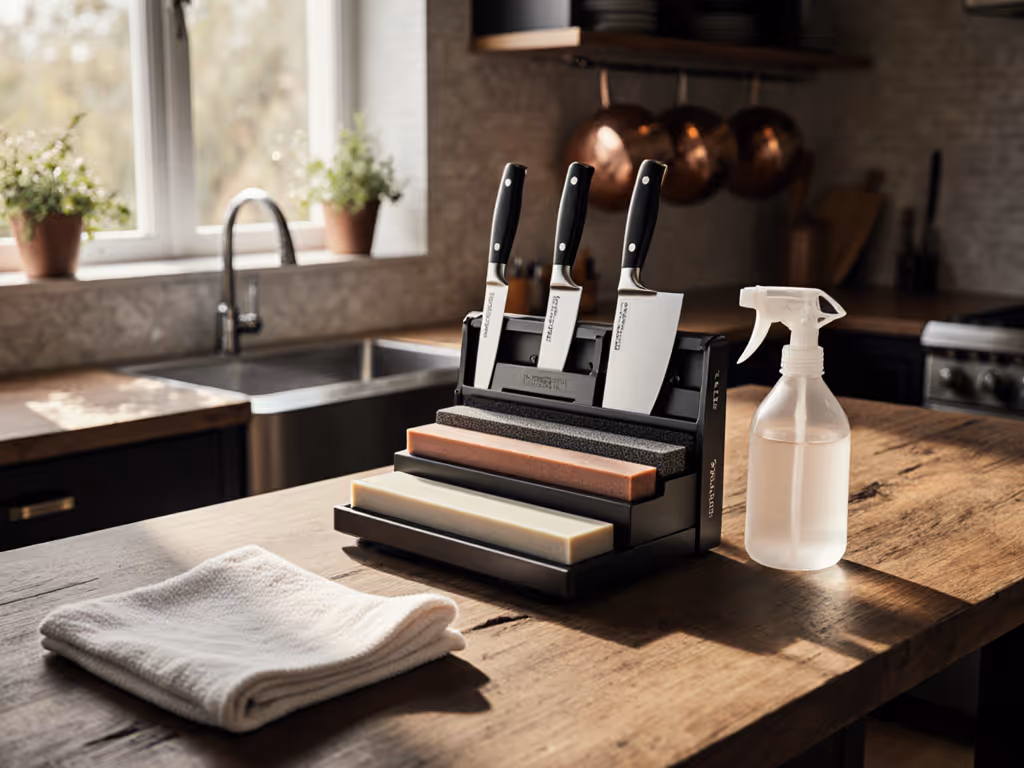
Building Your Angle Toolkit: A Low-Mess Starter Approach
You don't need a digital angle meter or a fancy jig to hit your target angles consistently. Start with these low-mess, affordable tools:
Entry-Level Consistency
- A simple honing guide ($15-25): Slides onto the blade and rests on the stone, holding the angle steady. No batteries, no setup hassle. Curious how guide mechanisms differ? See our test of magnetic vs mechanical angle guides.
- Muscle memory through repetition: After 5-10 sharpening sessions with a guide, your hand learns the motion and the feel. Then you can graduate to free-hand if you want.
- A tactile checkpoint: Before and after sharpening, rest your index finger along the spine of the blade at your target angle. You'll feel the difference between a dull edge and a sharp one (no guessing required).
Scaling Without Waste
As you gain confidence:
- You'll recognize the angle by feel.
- You'll need fewer sharpening sessions because you understand what angle each knife needs.
- You'll reduce material waste (less removed per session = longer blade life).
This mirrors something I witnessed after my brother accidentally chipped his new chef's knife: the panic of "I ruined it" gave way to a systematic afternoon testing entry-level kits on a tiny balcony table, stopwatch in hand, paper towels and a trash bag keeping the mess contained. Swarf everywhere, but the edge came back, and so did his confidence. That deliberate, step-by-step rebuilding without drama or expensive tools taught him more than any tutorial. The angle optimization itself was almost secondary; the process was the point.
Conclusion: Your Next Sharp Edge
The physics of food-specific sharpening angles isn't hidden or academic. It's visible in every clean tomato slice, every smooth onion layer. You can access it by understanding one principle: sharper angles cut cleaner but are more fragile; steeper angles are more durable but require more force.
Your actionable next step:
- Pick one food you cut regularly (tomato, onion, carrot, your choice).
- Sharpen your knife to the middle of the recommended range for that food (refer to the table above).
- Make three test cuts and observe what happens. Note the angle and your observations.
- Adjust by 1-2 degrees if needed, re-sharpen, and test again.
- Once you find the angle that feels right, write it down on a sticky note and tape it to your sharpening kit.
That one small step (matching angle to food) will make your knives feel transformed. And once you prove it to yourself with one blade and one food, you can confidently scale to others.
Start safe, then build skill. You've got this.
Related Articles