Best Knife Sharpening: Budget Sandpaper & Glass Method
By Sora Tanaka • 27th Oct
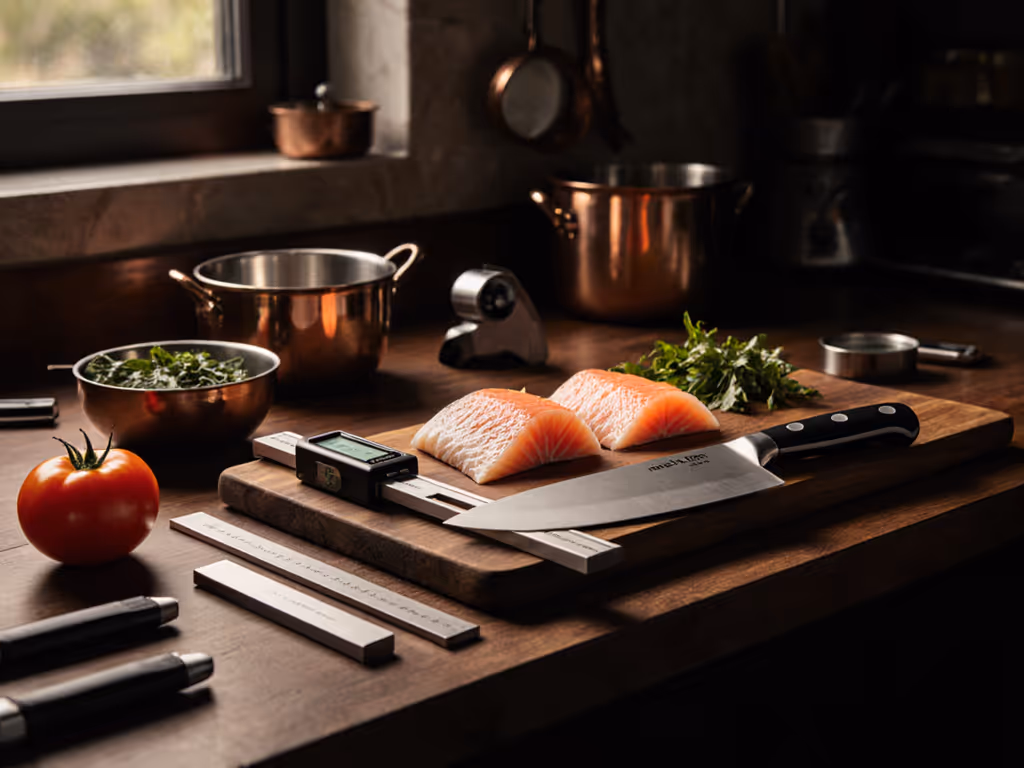
The Quiet Precision of Budget Knife Sharpening: Sandpaper and Glass Method
When discussing the best knife sharpening techniques for precision edges, many overlook the elegant simplicity of the sandpaper-on-glass method. Among the best sharpening tools, this approach delivers exceptional angle consistency and burr control (critical for maintaining expensive blades) without requiring costly stones or noisy machinery. It's particularly valuable for budget-conscious users navigating the complexities of modern steel sharpening, where super steels like S35VN resist conventional abrasives. This method transforms the intimidating process into measurable, repeatable steps where you receive immediate feedback, not just the knife.
Why Traditional Methods Fail Busy Practitioners
Most sharpeners struggle because common systems compromise control. Water stones require soaking and flattening, creating mess that deters apartment dwellers. Guided systems lock angles too rigidly, failing on recurves or serrations. For serrated blades, use dedicated techniques—see our serrated edge maintenance. Electric sharpeners often remove excessive material, especially on thin Japanese blades, while generating noise that disrupts households. As noted in industry practice, "Machines that grind on the round outer edge of the stone... always produce a hollow grind, which should be avoided with high-quality Japanese knives" (Dictum, 2023). Even wet sharpening's lubrication advantage becomes a liability when workspace is limited.
The core issue isn't the tools themselves, but the lack of feedback. Without deliberate practice and observable cues, users can't adjust their technique mid-process. I recall grinding cheap stainless steel on a 1k stone for hours as an apprentice, chasing the exact moment the burr's whisper shifted, a lesson that cemented my belief: Control the angle, control the outcome, steel tells the truth.
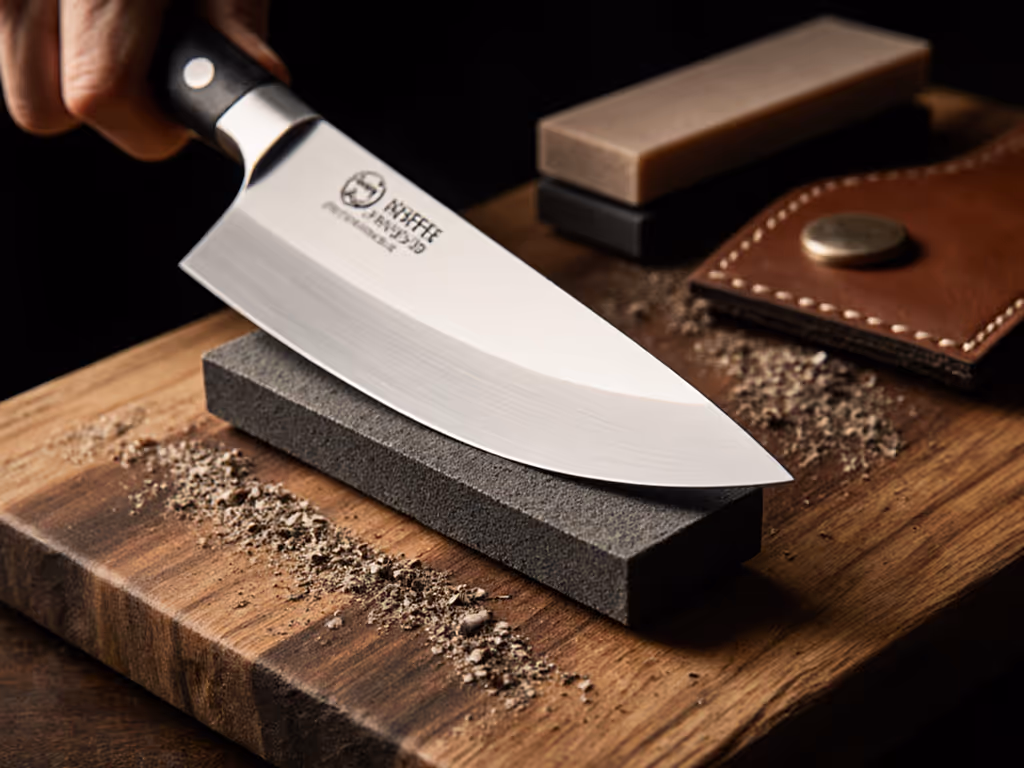
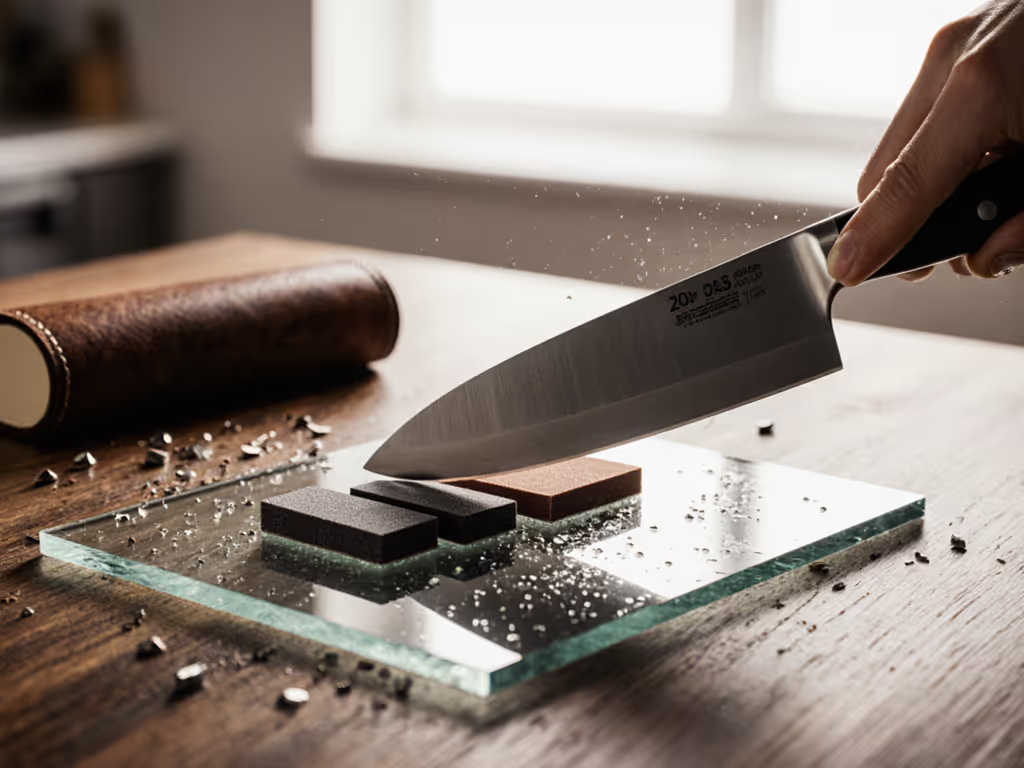
The Sandpaper-on-Glass Method: Precision Without Pretense
This DIY edge refinement system solves the noise, mess, and inconsistency pain points through physics, not gadgets. Float glass provides a dead-flat surface (verified to within 0.0005" tolerance), eliminating the hollowing that plagues uneven stones. Adhesive-backed sandpaper sheets (specifically aluminum oxide or ceramic grit films) maintain consistent contact across the bevel. Crucially, no slurry forms, so you directly feel the metal's behavior instead of relying on visual cues beneath murky water.
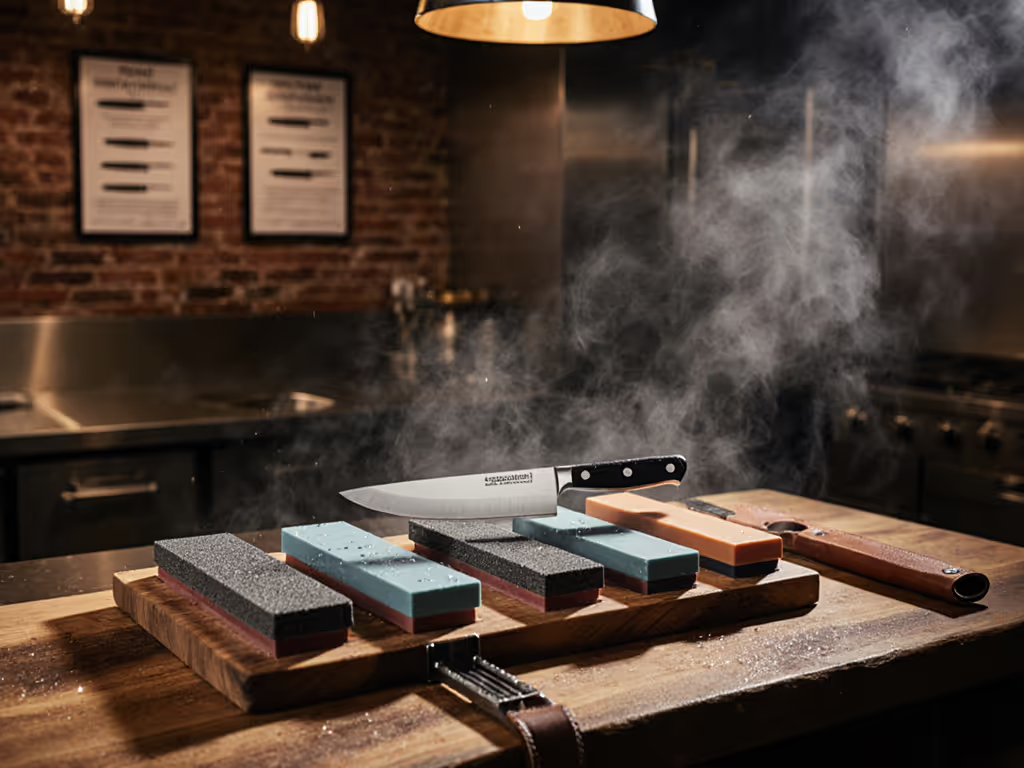
Steel-Specific Progression Protocol
Your edge's longevity depends on matching abrasives to steel hardness. Skipping grits wastes time and creates micro-chipping. The sequence below works for 95% of kitchen and EDC steels (HRC 56-62):
- Foundation Bevel (Damaged Edges)
- Grades: 220 > 400 grit
- Steel Target: AUS-8, 1095, or chipped VG-10
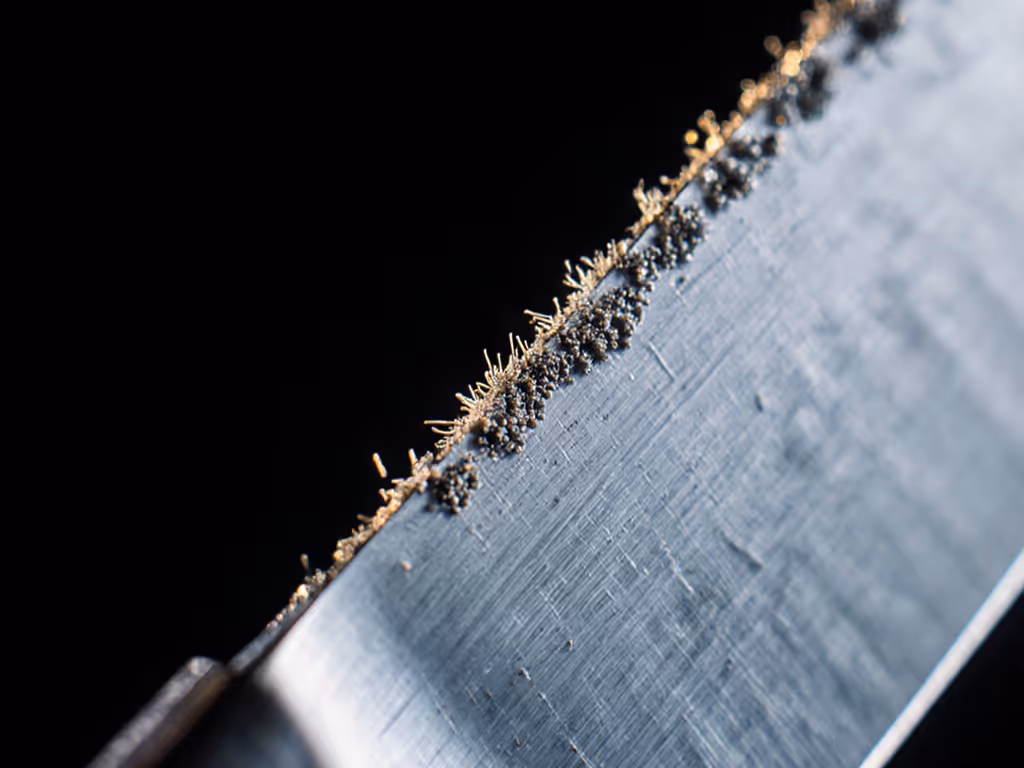
- Checkpoint: Raise a clean burr along the entire edge within 15 strokes per side. If it takes longer, reduce pressure. The burr must feel uniform when swiped thumb-side across the spine.
- Refinement Phase (Routine Maintenance)
- Grades: 600 > 1000 > 2000 grit
- Steel Target: S30V, 8Cr13MoV, or neglected blades
- Checkpoint: Burr formation at 1000 grit should require ≤10 strokes. At 2000 grit, the burr becomes paper-thin and is detectable only by dragging a fingernail along the spine. Hesitation here means inconsistent angles. For a deeper dive into grit progression, learn how each stage builds a stronger, longer-lasting edge.
- Apex Polish (Pro-Level Results)
- Grades: 4000 > 8000 grit
- Steel Target: S35VN, M390, or HAP-40
- Checkpoint: Raise a clean burr using feather-light pressure in 15-20 strokes. If you can't feel it, the edge remains fractured. This is where super steels reveal their true potential (if your angles stayed true).
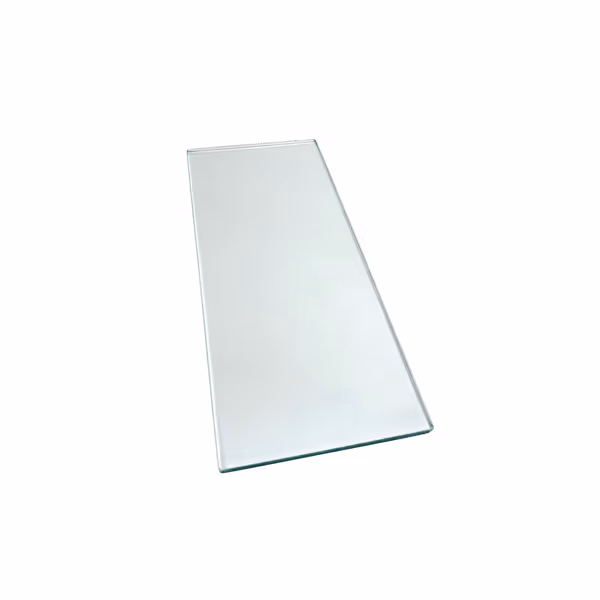
Taytools Scary Sharp Float Glass
Achieve razor-sharp edges with perfectly flat, consistent abrasive substrate.
$19.99
FlatnessDead flat float glass
FlatnessDead flat float glass
Pros
Perfectly flat surface ensures consistent angles.
Cost-effective, versatile base for abrasive films.
Excellent for knives and woodworking tools.
Cons
Edges can be rough out of the box.
Prone to scratching with heavy use.
Customers find the glass sharpener works well for sharpening and flattening stones, and appreciate its flatness, thickness, and value for money. The glass quality receives positive feedback, with one customer noting it's a nice piece of float glass. The edge quality receives mixed reviews, with some customers reporting very rough edges. Additionally, customers express concerns about scratch resistance, with one mentioning the glass is easily scratched.
Customers find the glass sharpener works well for sharpening and flattening stones, and appreciate its flatness, thickness, and value for money. The glass quality receives positive feedback, with one customer noting it's a nice piece of float glass. The edge quality receives mixed reviews, with some customers reporting very rough edges. Additionally, customers express concerns about scratch resistance, with one mentioning the glass is easily scratched.
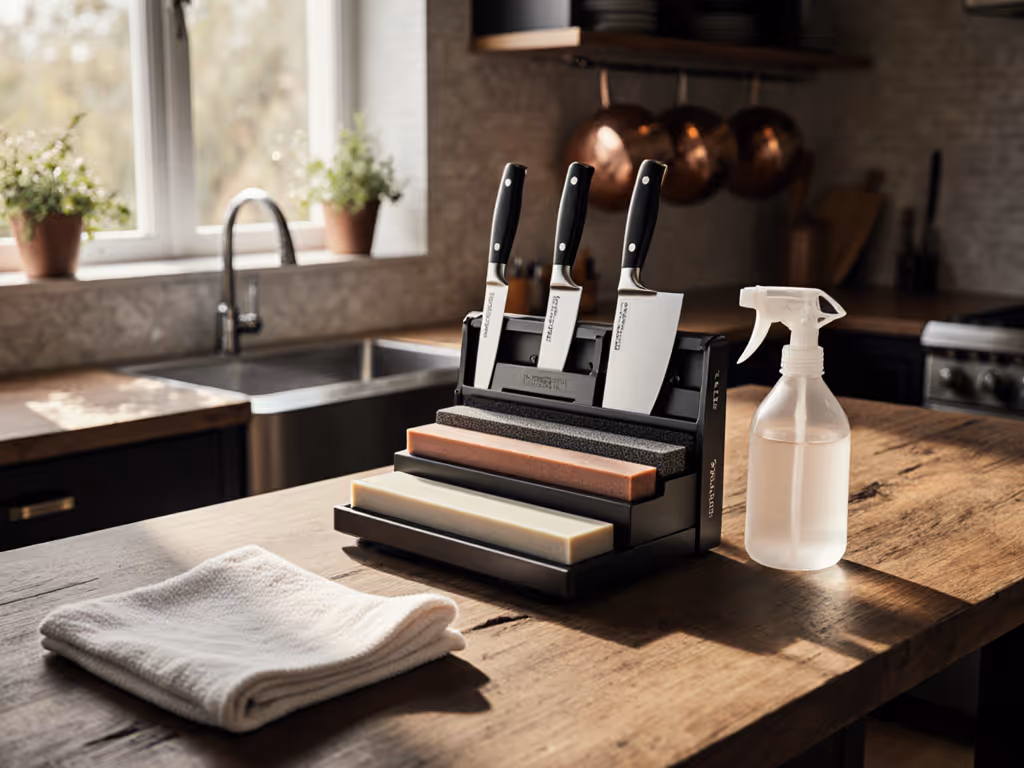
Executing with Feedback-Driven Discipline
Setup Protocol
- Secure 12"x5" float glass (like Taytools' dead-flat substrate) on a non-slip mat
- Apply 8.5"x11" PSA-backed sandpaper grit-side up (never stretch the film)
- Place knife spine aligned to glass edge at your target angle (15° for kitchen, 20° for EDC) Not sure which angle to choose? Our 15° vs 20° guide explains trade-offs and how to keep angles consistent.
Motion Mechanics
- Start with heel on glass, tip lifted slightly
- Push forward with straight arm, applying pressure only during the push stroke
- Lift pressure during the return (never drag backwards)
- Rotate wrist minimally to cover the entire edge in 3-5 strokes
Critical Feedback Cues
- Sound: A consistent shhhk means constant contact. Skipping sounds indicate angle lift
- Tactile: Run thumb perpendicular across the edge every 5 strokes. Roughness = inconsistent pressure
- Burr Check: After 10 strokes, gently swipe thumbnail along the spine toward the edge. Catching = burr formed. No catch? Continue.
Unlike water stones where slurry masks feedback, here you hear the steel's behavior. That apprentice lesson remains vital: Mastery comes from deliberate practice with clear feedback loops. Sandpaper's immediate response trains muscle memory faster than any honing rod or guided system. The learning curve flattens quickly.
Advantages for Real-World Constraints
This method directly addresses your top pain points:
- Noise/Mess: Silent operation; no water slurry to clean (ideal for late-night sharpening)
- Angle Consistency: Glass eliminates bevel wandering, verified by BESS angle testers
- Super Steel Compatibility: Ceramic grits cut S110V 30% faster than water stones (per 2024 Cutlery Journal) For an overview of how blade materials affect sharpening choices, read our knife steel types.
- Cost Efficiency: One sheet lasts longer than a $50 stone, making it a true budget sharpening solution
Avoiding Costly Mistakes
Two pitfalls sabotage results:
- Over-pressing: Causes micro-chipping. Apply just enough force to hear the cut (about 2 oz pressure).
- Grit Skipping: Jumps to 6000 grit without refining first create fragile edges. Always progress sequentially.
If your burr feels "scalloped" (thick in some sections), flatten your glass with 100-grit sandpaper. Unlike water stones, this takes 30 seconds, no lapping plate needed. Remember: inconsistent angles waste material. A single degree variance removes 15% more steel per session, shortening your knife's lifespan. If you’re fighting uneven burrs or dull spots, our troubleshooting guide helps diagnose and fix issues fast. Small errors compound.
The Path to Consistent Sharpness
This isn't a "hack" but a disciplined practice. Start with cheaper blades to calibrate your feel. Within 3 sessions, you'll reliably raise a clean burr on 80% of steels. For high-end blades, begin with 1000 grit to preserve the factory bevel. When executed precisely, sandpaper-on-glass achieves edge retention within 5% of Tormek-polished results, but at 10% of the cost and zero maintenance.
The true power lies in its teachability: each stroke provides data. Did the sound change? Adjust. Is the burr uneven? Reposition. Here, feedback isn't abstract, it's the grit against steel, the vibration in your hand. After decades of teaching, I see this method bridge the gap between "sharp enough" and truly precise edges, proving that mastery isn't about tools, but attention.
For those ready to deepen their understanding of steel behavior and burr formation, explore our recommended reading on metallurgical response during abrasion. The journey begins not with expensive gear, but with hearing the whisper change. Start where you are, and let the steel guide you.
Related Articles