Knife Sharpening Troubleshooting: Fix Dull Edges Now
By Sora Tanaka • 17th Oct
When your knife sharpening efforts consistently yield dull edges despite hours of effort, you're experiencing fundamental breakdowns in your sharpening troubleshooting process. This isn't about flawed tools or mysterious steel properties, it's about missing feedback loops that prevent you from recognizing when you've truly raised a clean burr. Whether you're working with a premium gyuto or a simple EDC blade, the principles of edge geometry remain constant: control the angle, control the outcome, steel tells the truth.
Why Does My Knife Feel Dull Even After Hours of Sharpening?
Most frustrated sharpeners unknowingly commit one critical error: they're sharpening without verified feedback. As I learned during my Saturday mornings with that retired sushi sharpener, chasing a burr isn't about time invested, it's about recognizing the exact moment when steel behaves predictably.
The marker test isn't optional: it's diagnostic
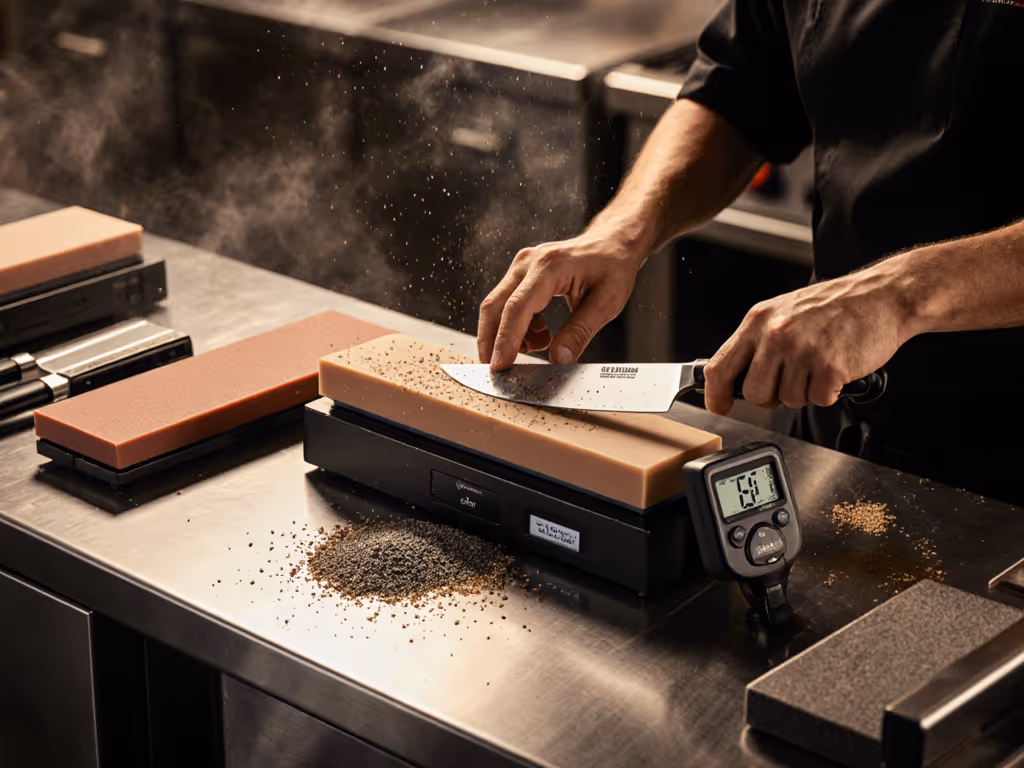
When you apply a Sharpie along your bevel and sharpen just 3-5 strokes, you create immediate visual feedback about where steel is actually being removed. Review these scenarios:
- Marker removed only at edge: Your angle is too high, blunting the apex
- Marker removed only high on bevel: You're working below the existing angle, wasting time
- Marker removed evenly across bevel: You've matched the existing geometry
This simple checkpoint reveals whether you're truly working toward the edge or merely polishing existing surfaces. Without this verification, you're essentially sharpening blind.
Why Isn't My Knife Holding an Edge After Sharpening?
The "why is my knife not getting sharp" question typically stems from incomplete burr management. Many users mistakenly believe a visible burr equates to sharpness, when in reality:
- An inconsistent burr (strong in some areas, weak in others) indicates angle variation
- A broken burr creates micro-chipping that dulls immediately
- An unremoved burr creates a wire edge that collapses under pressure
The Three-Stage Burr Verification Process
Instead of relying on touch alone, implement these objective checkpoints:
- Raise a clean burr consistently along the entire edge using 400-800 grit
- Alternate sides until you feel the burr flip reliably (5-7 strokes per side)
- Remove the burr systematically with light pressure on a 1000+ grit stone
This progression creates the microscopic straightness that defines true sharpness. For a clear roadmap of coarse-to-fine stages, see our grit progression guide. Steel doesn't lie, if your edge fails tomato tests, either the burr wasn't fully formed or it wasn't properly removed.
Why Do I Get Wire Edges Instead of Sharp Ones?
"Common sharpening errors" often manifest as wire edges rather than functional apexes. This occurs when:
- Pressure varies during strokes (heavier at start/end than middle)
- Angle drifts by even 1-2 degrees during the stroke
- Grit progression jumps too dramatically (skipping from 400 to 6000 grit)
Steel-Specific Correction Protocol
Different steels demand specific approaches to avoid wire edges:
| Steel Type | Recommended Approach | Critical Checkpoint |
|---|---|---|
| Soft steels (420J2, 1095) | Start at 300-400 grit | Feel for burr formation after 10 strokes |
| Medium steels (8Cr13MoV, 154CM) | Begin at 800-1000 grit | Verify uniform burr along 75% of edge |
| Hard steels (S35VN, M390) | Use 1000+ grit diamond | Check for consistent scratch pattern |
Hard super steels particularly resist traditional waterstones, requiring either diamond abrasives or patience with progressively finer stones. Learn how blade composition affects technique in our knife steel types explainer. When working with these, you must slow your pace (each stroke should remove visible material, not just polish).
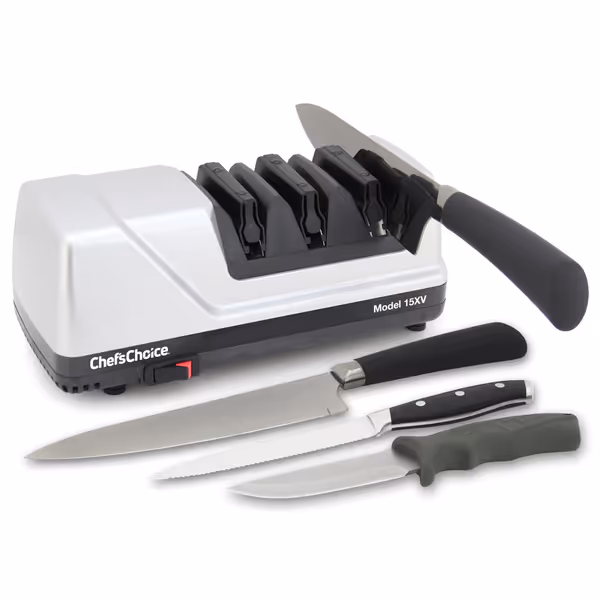
Chef’sChoice 15XV EdgeSelect Electric Knife Sharpener
Converts dull blades to professional 15-degree edges in seconds.
$169.99
Sharpening Time1 minute (first use), 10 seconds (res हरपन)
Sharpening Time1 minute (first use), 10 seconds (res हरपन)
Pros
Achieve razor-sharp Trizor XV edges quickly.
Sharpens both straight and serrated knives.
Automatic angle guides ensure consistent results.
Cons
Higher initial cost.
Mixed opinions on long-term durability.
Works fantastically, making nice edges and sharpening all types quickly, taking about 1 minute per knife.
Works fantastically, making nice edges and sharpening all types quickly, taking about 1 minute per knife.
Why Can't I Get a Consistent Edge Along the Entire Blade?
"Fixing dull edges" often means addressing technique inconsistencies rather than tool limitations. Most users unconsciously alter their angle during long strokes, particularly:
- Near the tip: Angles increase by 3-5 degrees due to wrist adjustment
- At the heel: Angles decrease when compensating for handle position
- Mid-blade: Most consistent technique usually occurs here
The 3-Point Angle Verification Method
To ensure edge consistency:
- Mark three points along the blade (heel, center, tip) with Sharpie
- Sharpen in 1-inch segments rather than full strokes
- Verify marker removal at each point before moving to the next segment
This segment approach creates measurable checkpoints that build muscle memory. For recurves or serrations, apply the same segmented approach but work perpendicular to each serration's apex.
When Should You Consider Alternative Sharpening Approaches?
For those with noise/mess constraints or struggling with angle consistency, guided systems offer legitimate solutions if used correctly. The Chef'sChoice 15XV provides mechanical angle control for users who need immediate, verifiable results:
- Precision angle guides maintain consistent 15-degree sharpening
- Diamond abrasives handle hard super steels that resist waterstones
- Three-stage progression manages burr formation and removal automatically
However, even with guided systems, you must verify results. Do not assume the machine creates perfect edges. Always check for a clean burr using the marker test before considering sharpening complete.
The Verification Workflow: From Dull to Documented Sharpness
Adopt this 6-step verification process for all sharpening sessions:
- Diagnose: Perform the marker test to identify current edge geometry
- Select: Choose starting grit based on steel hardness and damage
- Establish: Raise a clean burr consistently along the entire edge
- Refine: Progress through grits while verifying burr removal
- Validate: Test with a paper cut, tomato test, or BESS measurement
- Document: Note time, pressure, and results for future reference
This workflow transforms subjective "sharpness" into objective improvement. Each session becomes a data point in your skill development, not a random attempt.
Conclusion: Building Reliable Feedback Loops
True mastery in knife sharpening emerges from recognizing when steel gives you clear feedback, not from hoping for different results with the same technique. Whether you're working with a $20 Buck knife or a $300 Masamoto, the physics of edge formation remain identical. Your ability to raise a clean burr consistently, verify its removal, and document your process transforms sharpening from frustrating chore into measurable craft.
Further Exploration:
- Study your sharpening strokes with slow-motion video analysis
- Keep a sharpening journal tracking steel types, grit progressions, and results
- Experiment with different burr-testing methods (plastic card, fingernail, magnifier)
- Compare results between manual stones and guided systems using objective tests
If you're deciding between stones and machines, see our whetstone vs electric comparison. Remember what Saturday mornings with the sushi sharpener taught me: the stone provides honest feedback if you learn to listen. When your edges consistently cut paper cleanly and tomatoes without crushing, you'll know you've closed the loop between technique and result. That's when sharpening troubleshooting becomes second nature.
Control the angle, control the outcome, steel tells the truth.
Related Articles