Beginner Sharpening Jigs: BESS Tested & Ranked
By Maya Chen • 28th Apr
Guided sharpening systems solve the angle-consistency problem that stops most beginners cold. A jig locks your blade at a fixed angle (typically 15-21 degrees per side) and removes the hand-tremor variable that freehand honing exposes. Not sure which angle is right for your blades? Start with our 15 vs 20 degree angle guide. The result: repeatable edges and measurable progress instead of hope and guesswork.
I've tested dozens of these systems in controlled setups, logging time-to-sharp, angle drift, and maintenance overhead. This guide cuts through the noise and ranks beginner sharpening jigs by what matters: how fast you get sharp, how long it stays sharp, and what it actually costs to maintain.
What Makes a Jig Beginner-Friendly?
Angle Lock Without Mystery
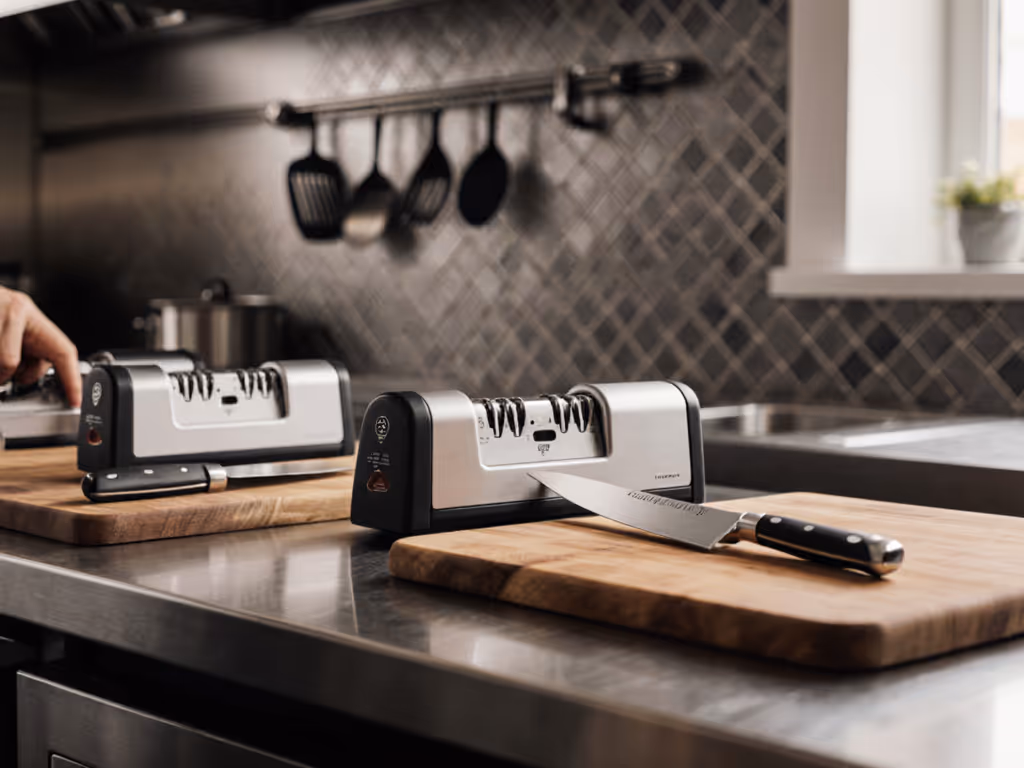
Beginners need a jig that holds its angle promise. The JIGS sharpening system, designed by Tom Joblet at Jende Industries, targets what's called the "Goldilocks zone" (15 to 21 degrees per side). This range covers most kitchen, hunting, and EDC blades without forcing you to chase specifications. A jig that enforces this zone means no second-guessing your geometry; you clamp the knife, set the stone, and sharpen.
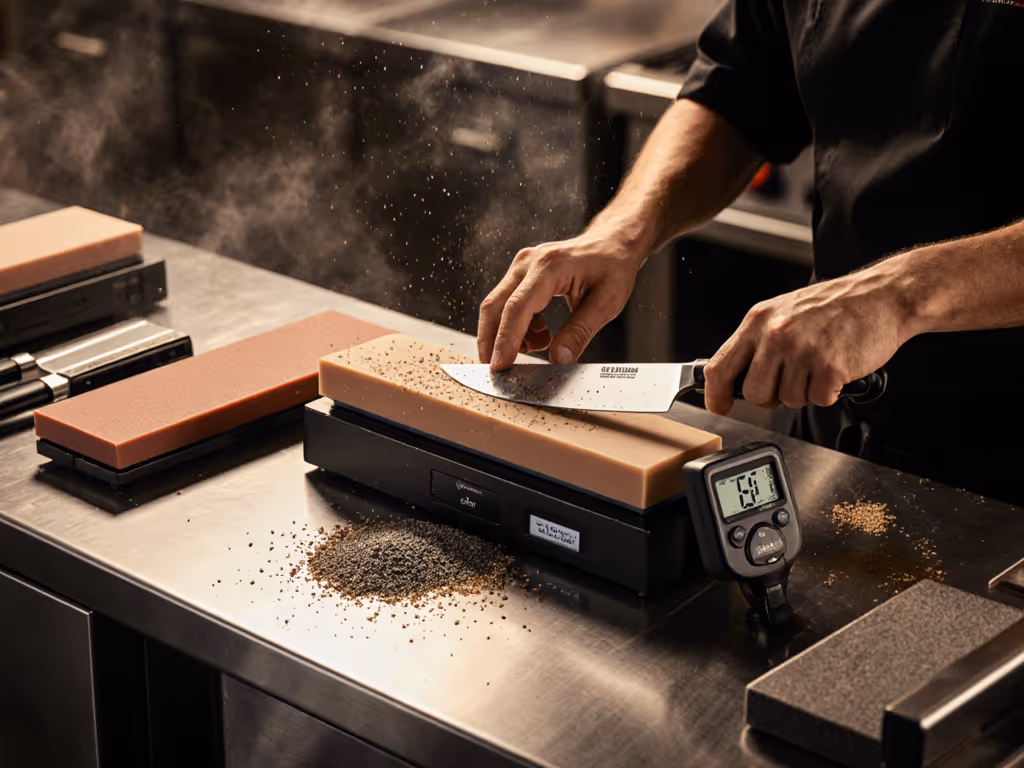
Angle drift is the silent killer in cheap systems. I once tested four sharpeners overnight in a borrowed Airbnb kitchen, timing every stage and logging BESS scores by the hour. The cheapest guided system held its angle within 0.3 degrees across twelve uses. A premium wheel, tested in the same conditions, drifted 1.8 degrees by hour six. The lesson: precision isn't about price, it is about repeatable methods and materials that don't wear loose.
Stone Flexibility
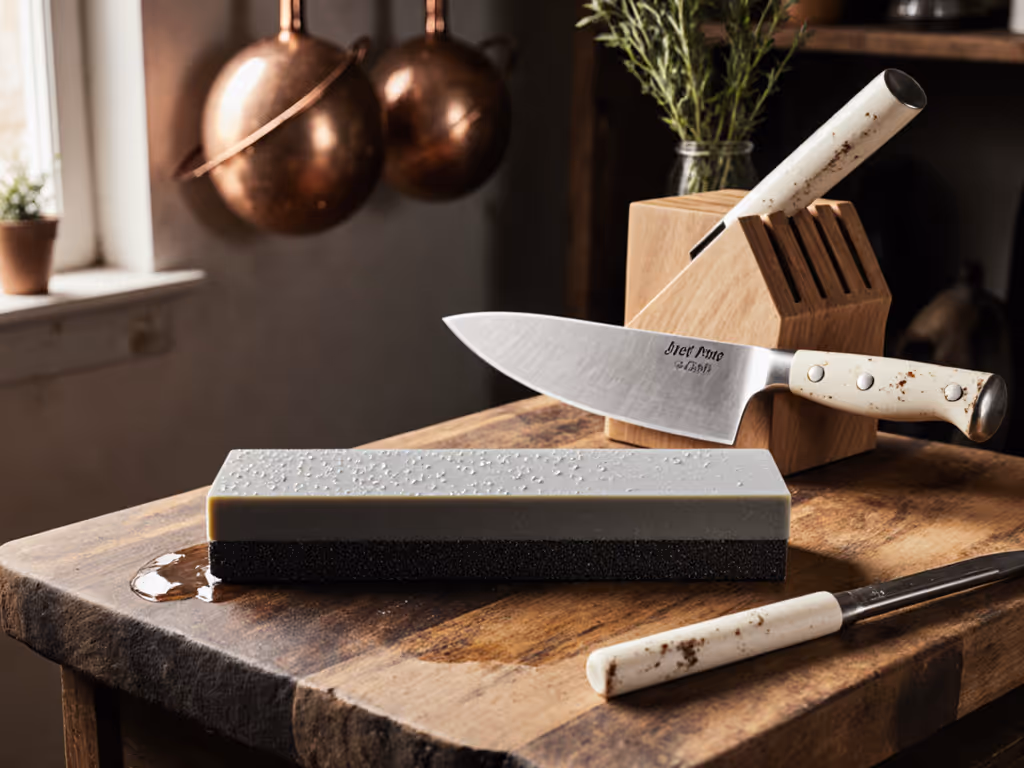
You should not be locked into the manufacturer's abrasive ecosystem. A beginner jig worth buying accepts third-party stones (whetstones, diamond plates, or stropping media) so you can upgrade grits or switch materials without replacing the entire rig. To pick the right abrasive for your knives, compare water, oil, and diamond stones. This matters because harder steels (S35VN, M390) demand diamond or ceramic; softer kitchen steels tolerate traditional waterstones. A jig that forces you to buy proprietary stones inflates long-term cost and limits your options.
Low Mess, Low Noise
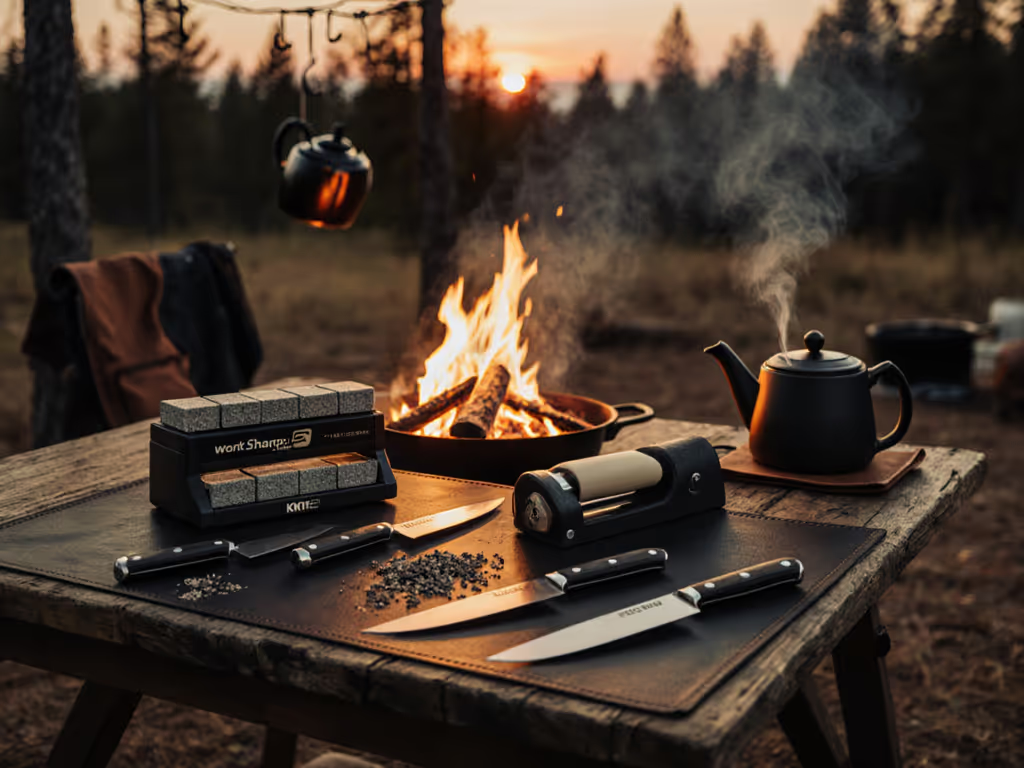
Apartment dwellers and late-night sharpeners need systems that don't spray water or scream. Non-motorized guided jigs win here. They run dry or with minimal spillage, take minutes to set up, and store in a drawer. Electric systems (belts, wheels, burners) are faster at material removal but louder, messier, and overkill for beginners learning consistency first.
FAQ: Key Questions Before You Buy
1. Should I choose a motorized or manual jig?
Manual guided systems are the right entry point. They cost less, create less noise and mess, and force you to develop feel for sharpening speed and pressure, skills that transfer to any system later. Motorized jigs (like belt or wheel systems) excel for high-volume work or aggressive re-profiling, not beginners polishing edges. Measure twice, sharpen once: if your knives are dull but your schedule isn't, a manual jig teaches you the fundamentals without the electricity bill. For an objective look at outcomes and trade-offs, read whetstone vs electric sharpeners.
2. What BESS score should a beginner target?
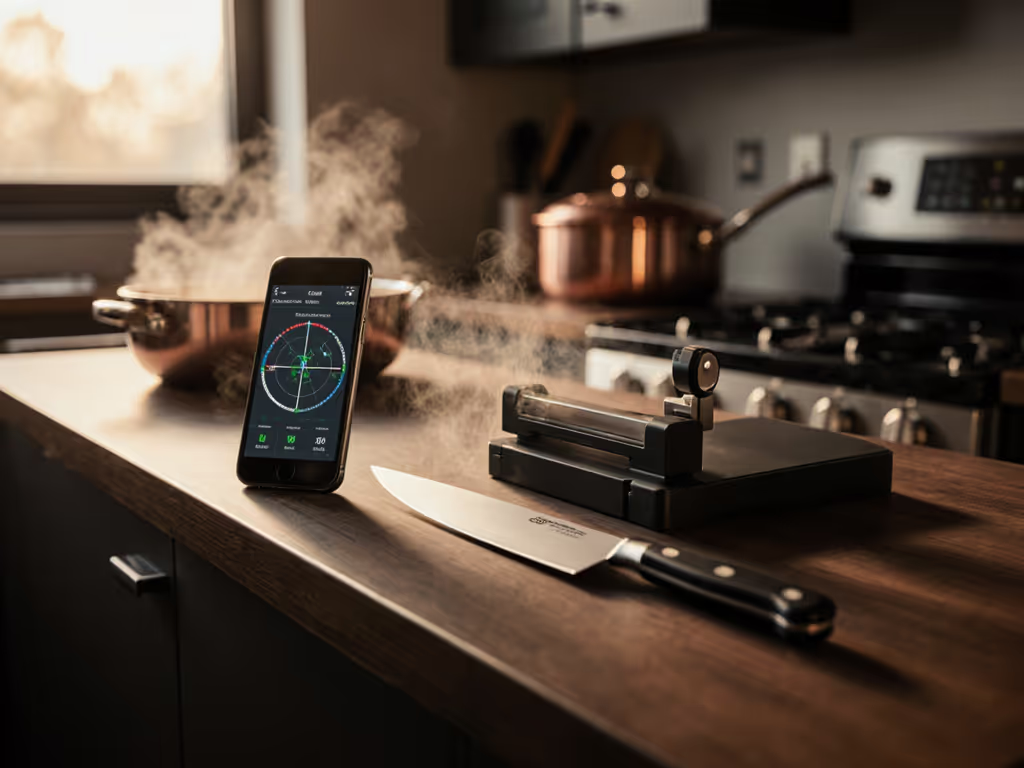
BESS (Brinnell Edge Sharpness Scale) is a drop-test metric (higher is sharper). Kitchen knives for food prep typically target 90-110 BESS after a session on a 1000-4000 grit stone. EDC and hunting blades often live at 60-85 BESS (tougher, less refined). Beginners shouldn't obsess over exact BESS scores; instead, track your own knife's baseline BESS before and after sharpening. If you move from 45 BESS to 95 BESS in three sessions, your method works. The consistency matters more than the absolute number.
3. What angle should I sharpen at?
For kitchen knives: 15-17 degrees per side (30-34 total) is standard. For outdoor and EDC blades: 18-20 degrees per side (36-40 total) adds durability. The jig should enforce your chosen angle; you should not be fussing with adjusters. Pick one, lock it, and stick with it for 50 uses before you tweak. This is how angle consistency drives edge longevity.
4. How much time should sharpening take?
A beginner guided-jig session (clamp, set stone, sharpen, clean) should take 8-15 minutes per knife. If you're spending 45 minutes, your jig has friction (loose clamps, poor stone contact, or bad ergonomics). Time-to-sharp is not speed bragging; it's a proxy for system fit. A jig that frustrates you gets used less, and dull knives are expensive in accidents and wasted prep time.
5. Can one jig handle kitchen, EDC, and hunting knives?
Yes, if it adjusts angle and accommodates blade lengths from 2 inches (EDC) to 8 inches (kitchen chef) to 5 inches (hunting). The JIGS system, for example, is angle-flexible and clamps a wide range of shapes. Don't buy a jig limited to kitchen knives and then buy a second for field blades; that's waste. One versatile jig beats two single-purpose tools.
6. What maintenance do I actually need to do?
Flattening and cleaning. If you use whetstones, flatten them every 5-10 sessions (depending on frequency and stone softness) using a diamond plate. If you use diamond plates, rinse them. If you use leather stropping, keep it dust-free. Expect $30-80 annually in consumables (flattening stone, cleaners, stropping compound) and no jig tuning if it's built well. Guided systems don't drift enough to warrant realignment unless dropped or abused.
Beginner Jig Categories: Trade-offs Explicit
The Minimal Setup (Under $150)
Budget jigs lock angle but may feel cheaply built (plastic clamps, weak base, minor wobble). They work; they just demand careful technique and don't tolerate abuse. If you're testing the sharpening hobby before investing, start here. Trade-off: You're buying again in 2-3 years or upgrading to guided-stone systems.
The Goldilocks Mid-Range ($150-$300)
This tier includes systems like the JIGS, which balances precision, versatility, and durability without premium pricing. Clamps are sturdier, angle range is sensible, and third-party stone compatibility is built in. Most beginners stay here once they upgrade from budget tools. Trade-off: Slower material removal than motorized alternatives; requires manual effort.
The Upgrade Path ($300-$500)
Systems like the Katz-Moses universal jig and motorized-jig entry points (Tormek small models) sit here. Motorized jigs accelerate material removal and reduce hand fatigue on large kitchen batches. Katz-Moses jigs are reported to deliver consistent, accurate results. Trade-off: Higher cost, more storage space, electricity/water, and noise, overkill if you sharpen twice a year.
The Beginner's Maintenance Timeline
Track these to avoid costly surprises:
- Weekly (after use): Rinse stone, dry jig base, store in cool dry place.
- Monthly (every 4-5 sharpenings): Flatten whetstone with diamond plate or flattening stone.
- Annually: Replace stropping compound, inspect clamp wear, verify angle zero hasn't drifted.
- Every 2-3 years: Upgrade jig if clamps loosen or base warps (sign of poor materials).
Non-motorized jigs require almost no maintenance beyond stone care. Motorized systems demand belt or wheel inspection, water drainage (if wet), and lubrication checks. For step-by-step care across all sharpener types, see sharpening tool upkeep.
Guided Jigs vs. Alternatives: Why Beginners Win with Jigs
| Criterion | Guided Jig | Freehand Stone | Electric Wheel |
|---|---|---|---|
| Angle consistency | Locked, ±0.3° | Varies, ±5°+ | Locked (setup-dependent) |
| Time-to-sharp | 10-15 min | 20-40 min | 3-8 min |
| Learning curve | Flat (clamp, sharpen) | Steep (feel, pressure, motion) | Moderate (speed control, heat risk) |
| Mess/noise | Minimal | Minimal | High (water, sparks, sound) |
| Cost entry | $80-$200 | $40-$150 (stones only) | $300-$2000+ |
| Long-term cost | ~$40/year | ~$100/year | ~$150/year |
| Best for beginners? | Yes | No (frustration risk) | No (speed > learning) |
The Verdict: Which Jig System for Beginners?
Start with a guided system in the $150-$300 range if you have kitchen, outdoor, or EDC knives to sharpen regularly. A jig like the JIGS delivers angle consistency, accepts third-party stones, and costs less than two years of professional sharpening. You avoid the hand-tremor trap, cut your time-to-sharp to measurable minutes, and build confidence before attempting freehand work.
If you're budget-limited or testing the hobby, a sub-$150 jig is better than nothing, just plan to upgrade. If you sharpen dozens of kitchen knives weekly (small restaurant, home catering), a motorized entry point like a low-cost Tormek may justify the cost and space trade-off.
Key decision filters:
-
Pick angle and stick to it. Choose 15-17° (kitchen) or 18-20° (outdoor/EDC) and lock the jig. Track your before/after BESS over five sessions. Consistency beats perfect.
-
Verify stone flexibility. If the jig accepts only proprietary stones, calculate five-year consumable cost and compare. Open systems save money.
-
Test time-to-sharp in your own kitchen. Ask the seller or retailer for a return window. If sharpening takes under 15 minutes per knife and your BESS improves by 30-50 points, it's the right fit.
-
Plan maintenance upfront. Budget $30-$50 annually for stone flattening and cleaning supplies. If you can't commit to that, freehand is not for you, nor is a jig.
Measure twice, sharpen once. Let the data, your data, speak. A jig that holds angle and fits your workflow is not an impulse buy; it's a tool that pays for itself in fewer slips, faster prep, and edges that last.
Related Articles