Work Sharp Pro PA: Repeatable Precision for Every Blade
By Luis Ortega • 19th Mar
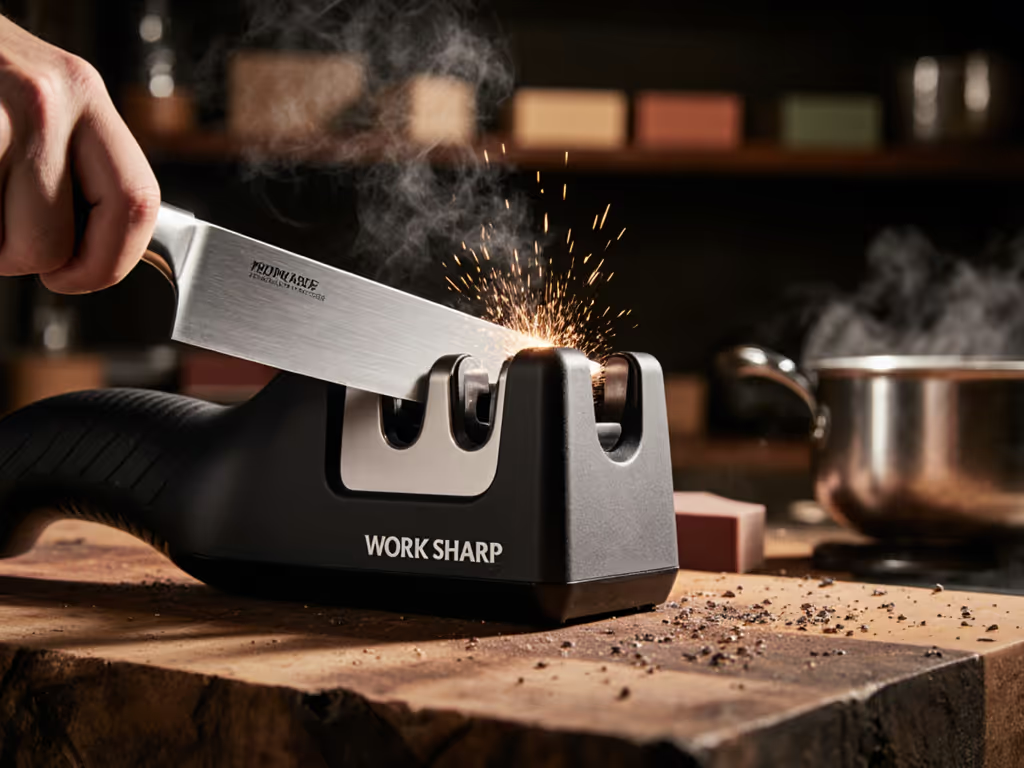
The Work Sharp Pro Precision Adjust system, along with its Elite counterpart, represents a fundamentally different approach to home knife care, one that removes the guesswork from blade maintenance. Unlike traditional stone systems that rely on feel and intuition, professional angle control sharpeners like these use guided rails and digital feedback to deliver the same edge geometry every single time you sharpen. For serious home cooks, knife hobbyists, and outdoor users who've struggled with inconsistent results, dull blades, and fear of ruining expensive steel, this level of control changes everything.
I learned this lesson firsthand when my brother chipped his new chef's knife during a pasta dinner. Rather than letting it gather dust or spending hundreds at a professional, I spent a weekend testing entry-level kits on our tiny balcony table (stopwatch in hand, paper towels and a trash bag keeping the mess contained). By the end, we'd restored the edge without drama. That moment convinced me: safe setup first, then let the system do the work. The Work Sharp Professional Precision Adjust line embodies exactly that philosophy.
Why Angle Consistency Matters More Than You Think
Before diving into the step-by-step workflow, it's worth understanding what makes precision angle adjustment the foundation of lasting sharpness.
Most kitchen knives perform best at 15° to 20° per side (30° to 40° total edge angle), while outdoor and hunting blades often prefer 25° to 30° for durability. For a deeper dive on choosing angles, see our 15° vs 20° angle guide. When you sharpen freehand, even experienced users drift by 3-5 degrees within a single stroke, creating uneven edges that dull faster and cut less efficiently. Over three or four sharpening sessions, this accumulates into a blade that never quite feels right.
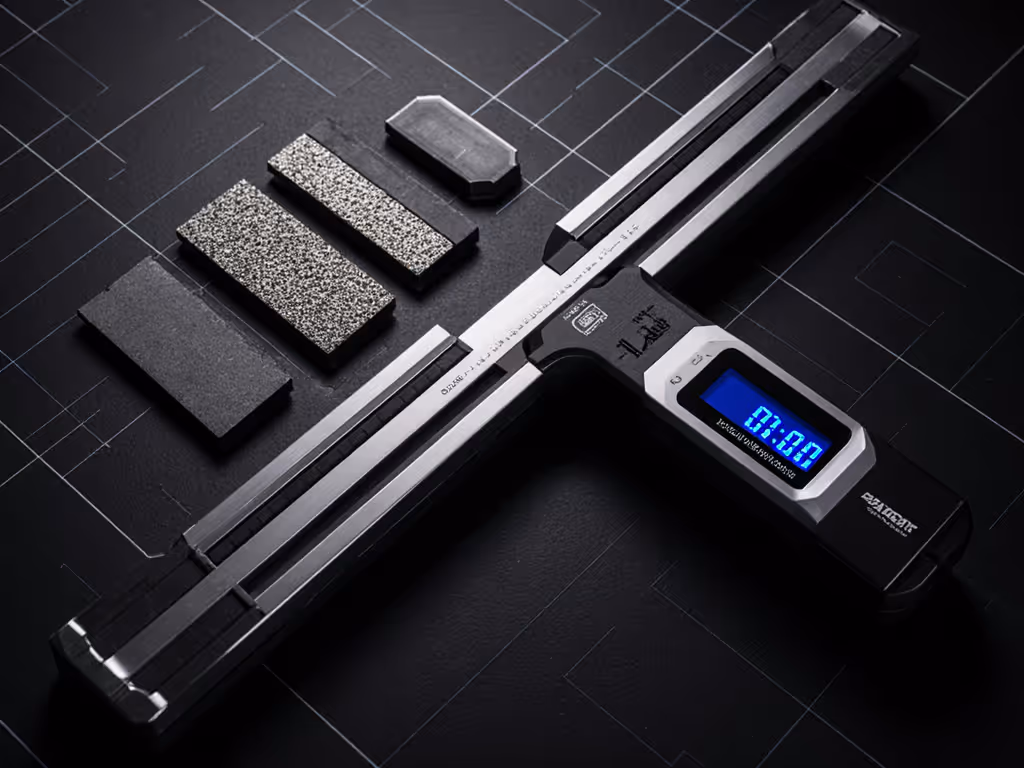
A guided sharpening system locks your angle and keeps it there. The Work Sharp Professional Precision Adjust achieves this through an adjustable carriage that moves on a threaded rod; you dial in your desired angle using an Angle Adjust Knob, and the system holds it firmly without slop. The integrated digital angle indicator registers in 0.25-degree increments, so you can fine-tune after setting your angle manually. This isn't vanity; it's the difference between a blade that holds an edge for two weeks and one that holds it for four.
Comparing the Standard and Elite Models
Work Sharp offers two Professional Precision Adjust configurations. Understanding the difference helps you choose the right platform for your skill level and collection.
Standard Professional Precision Adjust
The standard model is the entry point for serious angle-controlled sharpening. Here's what you get:
- Digital angle indicator with 15°-30° adjustment range
- 7 abrasive grits: 220, 320, 400, 600, and 800 diamond plates, plus a fine ceramic stone and leather strop
- Metal V-Block Clamp™ for stable, safe knife clamping
- Benchtop base with anchor points for steady operation
- Magnetic attachment for plates (easy swap between grits)
This setup handles 95% of home sharpening tasks, from repairing nicked edges (220 grit) to polishing finishes (leather strop). For kitchen knife enthusiasts, home chefs, and casual EDC users, this is where confidence begins to build. The learning curve is shallow because the system removes the hardest variable (angle) from the equation.
Safe setup first: The standard model gives you enough abrasive range and precision to sharpen kitchen knives, pocket knives, hunting knives, and outdoor blades with repeatable results.
Professional Precision Adjust Elite
The Elite model is for users who want to push toward professional-grade finishes and handle specialty blades. You gain:
- 10 abrasives total: all standard grits, plus resin-bonded ultra-fine plates (1200, 2000, 3000 grit)
- Dedicated serration sharpener (ceramic rod)
- Premium rugged carry case for storage and transport
- Small Knife Table Attachment for handling delicate or tiny blades
The ultra-fine resin-bonded diamond plates are the big upgrade here. Because they're resin-bonded (not electroplated), they cut more smoothly and create mirror-polished edges that catch light and cut with surgical sharpness. If you sharpen $200+ chef's knives regularly or want that final "wow" factor in your blades, this is the move. For apartment dwellers or budget builders starting out, the standard model is where safe wins live.
A Step-by-Step Workflow for Consistent Results
Here's the repeatable routine that builds confidence one stroke at a time.
Step 1: Prepare Your Workspace (Safe Setup First)
Checklist:
- Choose a stable, level benchtop or table with at least 24" clear space
- Lay down a small towel or mat to catch swarf and dampen vibration
- Place a trash bag or small bowl within arm's reach for spent debris
- Ensure the Work Sharp base sits flush; no wobbling
- Have paper towels and a small cup of water nearby
- Check lighting - you need to see the blade and the angle gauge clearly
Why this matters: A stable base means consistent downward pressure and safer handling. A contained mess means you're more likely to sharpen regularly instead of dreading cleanup. Low-mess setups build the habit.
Step 2: Select Your Angle and Verify the Digital Indicator
Checklist:
- Identify the steel and use-case of your knife
- Kitchen knives (stainless or carbon): 15°-17° per side
- All-purpose EDC or hunting: 20°-22° per side
- Heavy outdoor/batoning: 25°-30° per side
- Turn the Angle Adjust Knob to your target angle
- Press the Zero button on the digital indicator to set a baseline
- Place the groove on the indicator's back onto the sharpening rod - it attaches magnetically
- Verify the display shows your intended angle (in 0.25° increments)
- Lock the clamp stabilizer; the angle should not shift
Tactile cue: When the knob is tightened, you should feel firm resistance - no play, no looseness.
Step 3: Secure Your Knife in the V-Block Clamp
Checklist:
- Open the V-Block Clamp fully
- Insert the knife blade into the V-shaped jaws, seating it as far back as comfortable
- The clamp triangulates the blade, distributing pressure evenly
- Tighten the clamp lever with steady hand pressure - firm but not crushing
- Gently tug the blade; it should not move or rattle
- For large chef's knives (8"-10"), note that only ~2.5" of the abrasive will contact the blade at once; plan to re-clamp and sharpen in sections
Safety reminder: Never force the clamp. If the blade won't seat, reposition it and try again. Forcing can bend the clamp or chip the blade.
Step 4: Progress Through Abrasive Grits (Coarse to Fine)
Start with the coarsest grit you need, then work down to finer stones. If you're unsure how to sequence abrasives, follow our grit progression guide. This removes material efficiently and finishes with a polished, long-lasting edge.
For a standard edge restore (no major damage):
- Start at 400 or 600 grit (skip 220-320 unless there's visible damage)
- Make 5-10 light, controlled passes along the full blade length
- Listen and feel: you should hear a soft scratching sound and feel gentle resistance
- Swap to the next finer grit (e.g., 600 → 800)
- Repeat with 5-10 passes
- Finish with the ceramic stone (likely 1000-2000 grit) and then the leather strop
For a major repair (deep chip or very dull):
- Begin at 220 or 320 grit
- Make 8-12 passes; work patiently - material removal is the goal
- Progress to 400, 600, 800, ceramic, and strop (same routine as above)
Tactile cues:
- A dry blade feels slightly sticky as it crosses the abrasive - this means good contact
- If you hear squeaking or feel gritty resistance, the plate may need light cleaning with a damp paper towel
- When you move to a finer grit, the sound becomes quieter and the blade glides more smoothly
Step 5: Test Your Edge and Log Results
Checklist:
- Release the clamp and remove the blade
- Do NOT touch the edge with bare fingertips - freshly sharpened blades are dangerous
- Perform a tactile test: gently lay the blade flat (spine down) on a paper towel and see if it catches slightly as you drag it sideways - a sharp blade "bites" the paper
- Try a real-world cut: slice a ripe tomato with gentle downward pressure (no sawing). A sharp blade cuts cleanly; a dull one crushes
- Note the date, angle, grits used, and how long the edge lasted before your next session
Why logging matters: After 3-4 sharpenings, you'll see patterns. You'll learn exactly which angle and grit progression works best for your knives and your steel types.
Addressing Common Concerns
"Will the clamp scratch my finish?"
The V-Block Clamp is designed to hold the blade by its spine and flat, not the polished surfaces. Proper seating in the V prevents contact with your blade's pretty parts. Worry here is normal but unfounded with correct technique.
"How often do I sharpen?"
A sharp edge maintained at a consistent angle can last 2-4 weeks of daily kitchen use before needing a touch-up. For a usage-based schedule that fits your knives and cooking habits, see our how often to sharpen guide. Regular angle-controlled sharpening extends blade life because you're removing less material per session than freehand work.
"What about super steels like S35VN or M390?"
Hard stainless steels resist traditional whetstones but sharpen well on diamond abrasives. The diamond plates in both Work Sharp models (220-800 grit) are ideal for modern tool steels. You may spend slightly longer at the 220-400 grit stage, but repeatability is guaranteed.
"Can I sharpen serrated edges?"
The standard model doesn't include a dedicated serration tool, but the Elite includes a ceramic serration rod designed for this task. If you need technique specifics, read our serrated edge maintenance guide. If serrations are part of your collection, Elite is the logical choice.
Upgrading Your Path: Standard to Elite
If you start with the standard model and later want to upgrade:
- The Elite's carry case adds portability (useful for field touch-ups or sharing with friends)
- The 1200/2000/3000 grit resin-bonded plates create mirror finishes on premium blades (a genuinely "wow" factor)
- The serration rod unlocks a whole blade category
- The standard model's plates are not compatible with the Elite chassis, so consider it a platform upgrade, not an add-on purchase
Many users buy the standard model first, master the workflow over 2-3 months, then upgrade to Elite once the process feels automatic. This incremental path builds real confidence; you're not overwhelmed by options, and you've already proven to yourself that angle consistency works.
Practical Maintenance and Ongoing Costs
Here's the transparency piece that gets skipped in hype reviews.
What you don't have to replace:
- The metal frame is solid and designed to outlast the user
- The digital angle indicator is battery-powered (standard AA or AAA); swap the battery every 1-2 years (~$5)
- The benchtop base is permanent
What may eventually need attention:
- Diamond plates can glaze over after heavy use; a light cleaning with water and a soft brush restores performance
- The leather strop eventually wears; replacement strops cost $15-$25
- If you sharpen dozens of blades per month, you might replace a diamond plate after 2-3 years of heavy use
Low-mess advantage: Unlike whetstones (which require flattening lapping plates every 6 months) or electric sharpeners (which are loud and generate water spray), the Work Sharp system is self-contained, quiet, and stays tidy. This matters if you're in an apartment, have noise-sensitive neighbors, or want to sharpen at 10 PM without guilt.
When to Use Standard vs. Elite
| Your Profile | Recommended Model | Why |
|---|---|---|
| Home chef, 3–6 kitchen knives, learning sharpening | Standard | Fewer decisions, lower cost, confidence-building |
| Knife hobbyist with mixed steel types (kitchen + EDC + outdoor) | Standard or Elite | Standard is enough; Elite if you want mirror finishes and serrations |
| Professional chef or high-volume sharpener | Elite | Speed, finish quality, and the carry case justify investment |
| Small food business (butcher, caterer) | Elite | Versatility and resale value in a professional setting |
| Apartment dweller, late-night use, high mess-anxiety | Standard | Compact, quiet, tidy - perfect for tight spaces |
| Budget-first starter wanting to build skill | Standard | Prove the method works before investing in ultra-fine grits |
The Bottom Line: Confidence Through Consistency
The Work Sharp Professional Precision Adjust system removes the single biggest barrier to consistent sharpening: angle drift. By locking your blade at a repeatable angle and providing tactile, visual, and digital feedback, it transforms sharpening from a nerve-wracking gamble into a simple, repeatable process. You start safe, follow the steps, and build skill, not speed, first.
For serious home cooks tired of dull blades and fearful of ruining expensive knives, the standard model is a transformative investment ($150-$200 range). For knife enthusiasts and professionals who want mirror-polished edges and the flexibility to sharpen serrations, the Elite upgrades you into a complete professional-grade platform.
Start safe, then build skill, one consistent pass at a time.
Your Next Step
Pick your starting point: If you sharpen fewer than five knives per month and want to build foundational confidence, begin with the standard Professional Precision Adjust. Set a calendar reminder to sharpen one knife every two weeks using the workflow above. After three sessions, you'll feel the difference - edges that last longer, cuts that feel effortless, and the quiet satisfaction of knowing exactly what you did and why it worked.
If serrated blades or professional-grade finishes are in your future, or if you're ready to skip the stepping-stone, jump to Elite. Either way, safe setup first - prepare your workspace before you sharpen your first blade. Spend five minutes on the checklist. It transforms the entire experience from chaotic to controlled.
Your knives will thank you. So will your food prep.
Related Articles