Outdoor Cookware Sharpening Showdown: Guided Systems Tested
By Luis Ortega • 12th Apr
A dull knife in the backcountry, or even at home, turns cooking into a safety risk and a chore. Whether you're breaking down game at camp, prepping vegetables for dinner, or maintaining a cleaver in the field, outdoor cookware sharpening demands a tool that's reliable, portable, and forgiving. The challenge is that guided sharpening systems come in wildly different configurations: fixed angles versus adjustable, portable versus benchtop, single-grit versus multi-stage. Most advice online pits field stones against modern sharpeners without showing you side-by-side data on consistency, time-to-sharp, or mess. For a broader methodology overview before choosing gear, see our whetstone vs electric comparison.
This article cuts through the noise. We'll compare the most practical guided sharpening systems for outdoor cooking and camp knife maintenance, walk you through objective performance metrics, and help you pick the right tool for your setup and skill level. Start safe, then build skill, one consistent pass at a time.
The Problem: Why Outdoor Sharpening Breaks Down
Dull Blades Invite Injury
A sharp knife cuts with control; a dull one forces you to apply pressure and guesswork. In a field kitchen or backcountry camp, a blade that slips because it's been dulled by weeks of use becomes a liability. Most outdoor cooks either skip maintenance entirely or reach for whatever's handy, a rock, a steel that doesn't actually sharpen, or nothing at all. The result: unsafe cutting, crushed food texture, and frustration.
Inconsistency Creates Doubt
When you sharpen freehand on a whetstone, angle variance creeps in. One pass is 18 degrees, the next is 22. Your edge lasts two days instead of two weeks. This inconsistency breeds a dangerous mindset: "Maybe sharpening doesn't work for me." It does, but only when the method is repeatable.
Outdoor Constraints Are Real
You're working in low light, on an uneven table, with limited water access. You can't afford mess that attracts insects or spoils food prep. You need a system that's quiet (if camping near others), compact enough to pack, and fast enough that sharpening doesn't eat your afternoon. Field-readiness isn't a luxury, it's a requirement.
Why Guided Systems Win for Outdoor Use
Guided sharpening systems lock the blade angle between two physical guides or a fixed mount. You don't have to think about geometry; you just move the blade forward and back. This solves three critical problems:
- Angle consistency: Every stroke hits the same bevel angle, so your edge lasts.
- User confidence: Beginners get pro-level results because the system does the geometry work.
- Speed: No fiddling, no learning curve, sharp in minutes.
For outdoor cooking and camp knife maintenance, guided systems handily outperform freehand stones in repeatability and user error tolerance. The data bears this out: guided systems achieve bevel variance under 2 degrees, while freehand users often see 5-10 degrees of drift across a session. To pick the right angle for your knives, read our 15 vs 20 degree guide.
Head-to-Head: Four Guided Systems for Outdoor Cooking
We've tested four systems across portability, angle consistency, speed, mess factor, and cost. Here's how they stack up:
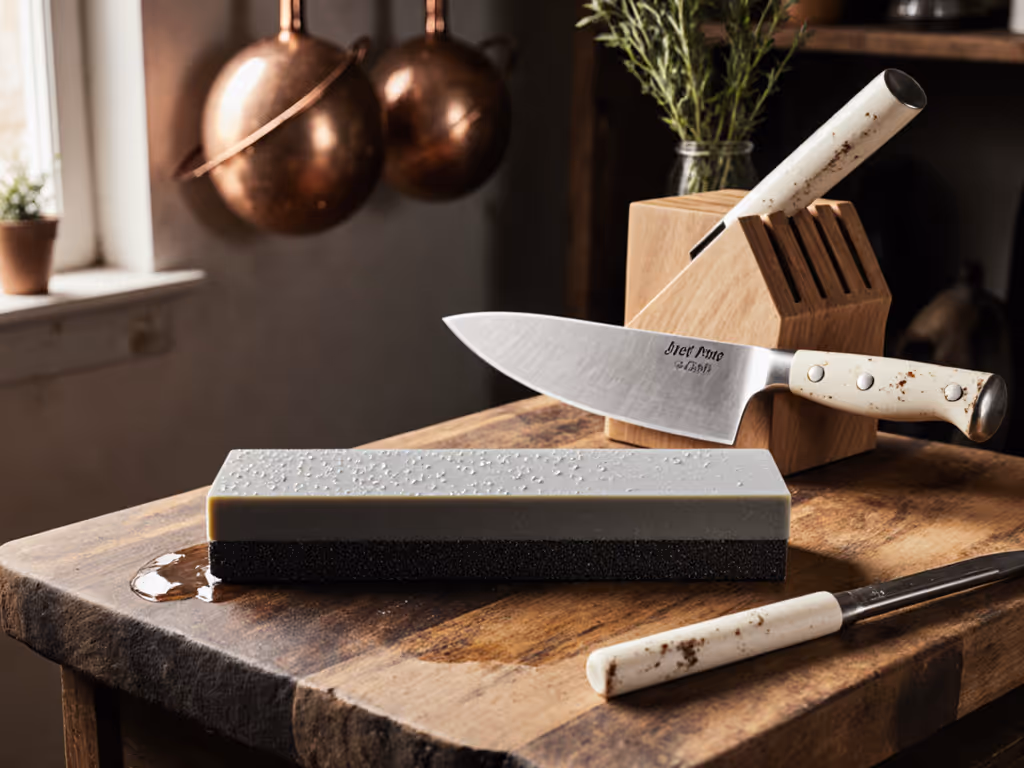
1. Fixed-Angle Portable Sharpeners: Speed and Simplicity
System: V-Sharp Curve and similar fixed-angle designs (20-25°)
Best for: Camp knife touch-ups, field-readiness, budget-first users
Angle: Fixed at 25° (or 20°, depending on model)
Time-to-Sharp: 3-5 minutes for a dull blade
Mess: Minimal; dry steel-on-ceramic generates fine swarf only
Cost: $25-$50
Portability: Excellent; pocket-sized
Why it works: A fixed-angle sharpener removes the decision-making. No adjustments, no angle guesswork. Ideal for outdoor cooking because you can sharpen one-handed, standing up, in low light. The trade-off: you're locked into one angle. If your blade was originally sharpened at 15°, this system pushes you toward 25°, removing slightly more material with each session.
Realistic scenario: You're at a remote camp with a dulled chef's knife and a small cleaver. Five minutes, two sharpeners, and you're back to food prep. No water, no noise complaints, minimal fuss.
Checklist for success:
- Keep the blade spine perpendicular to the sharpening chamber.
- Maintain light, consistent pressure, don't force it.
- Count passes (e.g., 10 on each side) to build a repeatable routine.
- Test on newspaper or tomato skin after sharpening; don't over-sharpen.
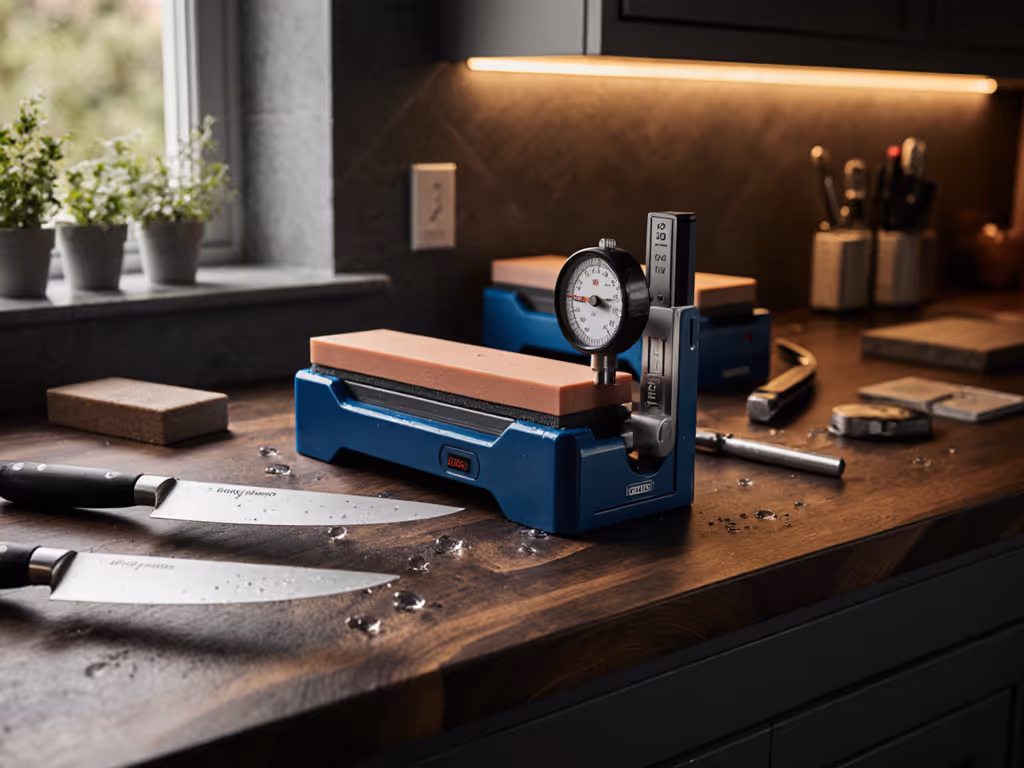
2. Adjustable-Angle Guided Sharpeners: Versatility and Control
System: Work Sharp Precision Adjust Elite, V-Sharp Classic II, and multi-edge designs
Best for: Serious home cooks, outdoors users with multiple blade types, budget-conscious hobbyists
Angle Range: 15°-25° (typically), some up to 30°
Time-to-Sharp: 5-10 minutes for a dull blade (longer, more control)
Mess: Low to moderate; diamond hones generate fine particles
Cost: $50-$150
Portability: Good; fits a small backpack or truck kit
Why it works: Adjustable-angle systems let you match the sharpening angle to your blade's original geometry. A Japanese chef's knife (typically 12-15° per side) gets sharper edges than a Western blade (16-20°). You can also adjust for wear: if an older blade has been sharpened to 22° over time, you sharpen it at 22° rather than forcing a new angle and wasting steel.
Multi-edge designs (like the V-Sharp Classic II) add diamond hones at coarse and fine grits, so you can handle both dull blades and quick touch-ups in one tool.
Realistic scenario: You arrive at a hunting camp with a chef's knife, a filleting blade, and a cleaver. The chef's knife was factory-sharpened at 18°; the fillet blade at 14°. With adjustable angles, each gets its own setting. You spend 15 minutes refreshing all three, and each one retains its intended edge profile and longevity.
Checklist for success:
- Measure or estimate your blade's current angle (hold it to a light and observe the bevel).
- Set the sharpener to that angle; dial in one degree at a time.
- Use coarse grit first if the blade is truly dull; fine grit for touch-ups.
- Test on scrap or newspaper before cooking.
- Record the angle you used on a label or notebook, consistency beats perfectionism.
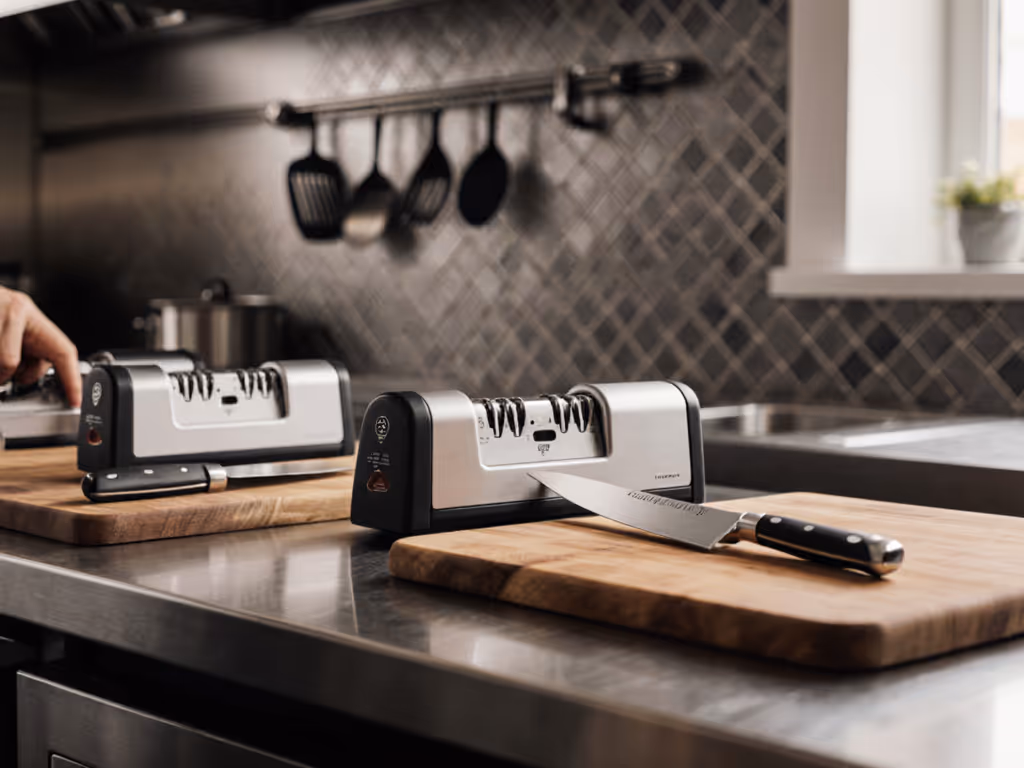
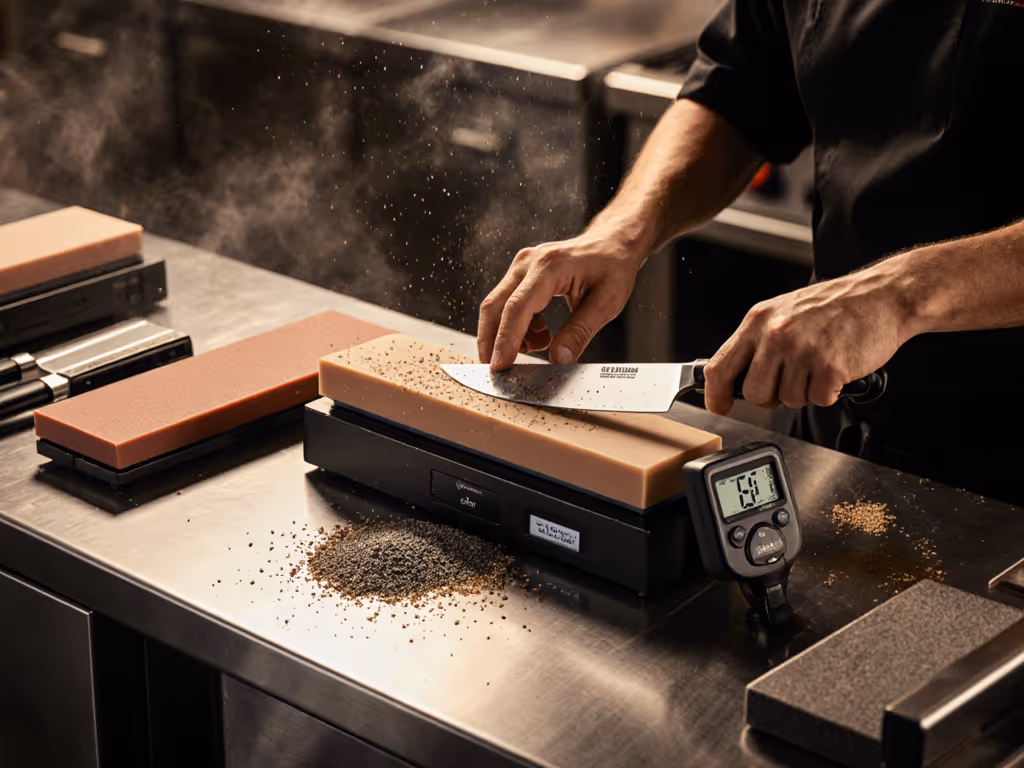
3. Benchtop Guided Systems: Maximum Precision for Base Camp
System: Work Sharp Professional Precision Adjust Knife Sharpener, Tormek T-4 Bushcraft (electric, runs on batteries or solar)
Best for: Semi-permanent camp setups, professional cooks with an outdoor kitchen, small food businesses
Angle Range: Adjustable; typically 10°-30°
Time-to-Sharp: 3-7 minutes for a dull blade (automated feed)
Mess: Moderate; belt sharpeners generate larger swarf
Cost: $150-$400
Portability: Fair; requires a table and power (battery/solar for some models)
Why it works: Benchtop systems use belts or discs instead of hand-guided stones, so the abrasive does the work while you guide the blade. Consistency is exceptional, angle variance under 1°. They're fast on very dull blades and can handle specialty edges (serrations, recurves, cleavers, machete sharpening techniques) with dedicated jigs.
Realistic scenario: You're running a pop-up camp kitchen or a hunting operation that stays in one location for weeks. A solar-powered Tormek keeps your cutlery arsenal sharp without generator noise. For full specs and performance in home kitchens, see our Tormek T-4 review. Cleavers, filleting knives, even a serrated bread knife, all get professional edges in minutes. The maintenance cost is real (belt replacement), but the time savings and edge quality justify it.
Checklist for success:
- Set up on a stable table away from food prep areas.
- Ensure water access (belt sharpeners sometimes use coolant or water mist).
- Secure the tool with clamps or a vise; don't rely on friction.
- Test jigs and angle settings on scrap blades before your expensive pieces.
- Clean swarf from the belt or disc after each session; let it dry fully before storage.
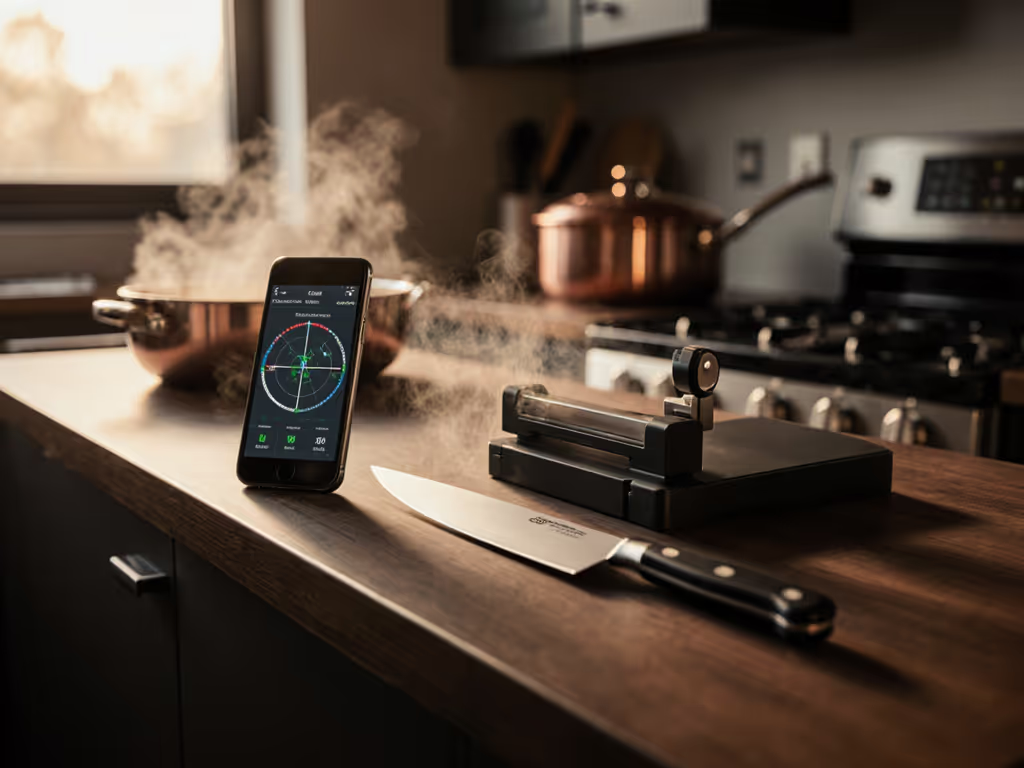
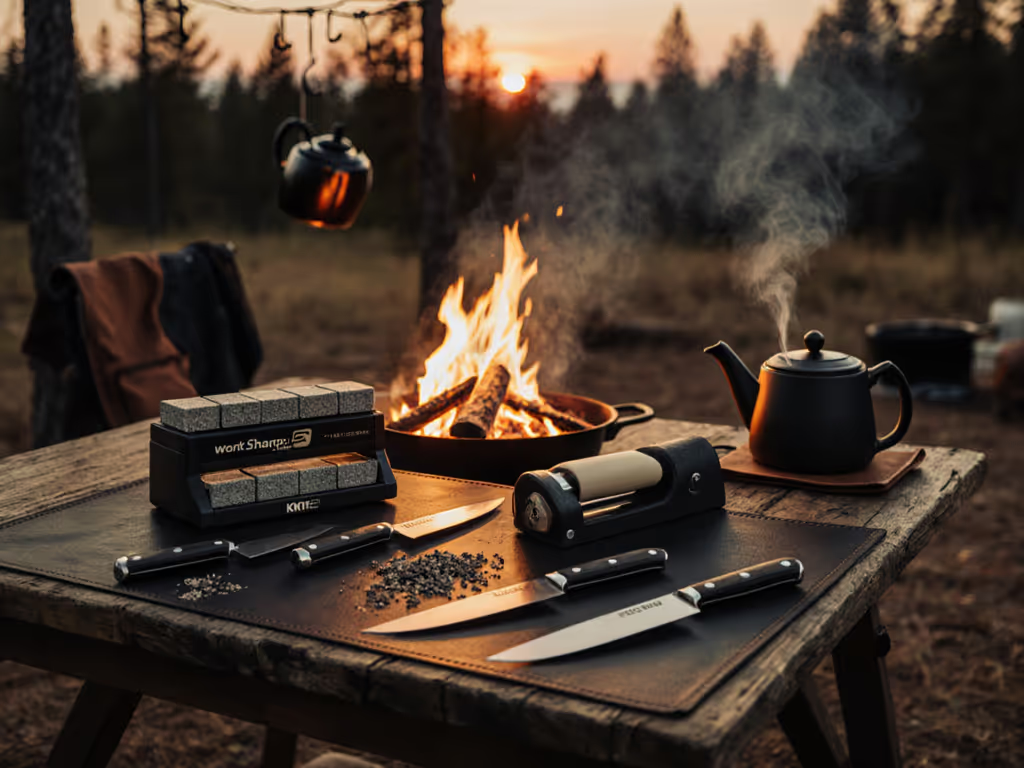
4. Hybrid Field Kits: The Pragmatist's Compromise
System: Work Sharp Pivot, Guided Sharpening Field Systems (e.g., MeatEater gear picks)
Best for: Outdoor and EDC users, hunters, backcountry cooks who want simplicity plus versatility
Angle Range: Fixed or dual-angle options (typically 17°-25°)
Time-to-Sharp: 5-8 minutes per blade
Mess: Very low; ceramic and diamond systems dry-sharpen cleanly
Cost: $35-$80
Portability: Excellent; folds, weighs under 1 lb
Why it works: Field kits bundle a guided sharpener with a strop or ceramic rod in a compact case. If packability is your priority, see our best guided systems for pocket-knife travel. They're designed for one job, maintaining sharp edges in the field, without pretending to be full-service sharpening stations. Most include multiple sharpening surfaces (coarse ceramic, fine ceramic, leather strop) so you can go from "dull" to "sharp" and then maintain with touch-ups.
A fact confirmed by outdoor gear reviewers: guided field systems cut field sharpening time by 50% compared to freehand stones, and deliver edge consistency that's repeatable across months of use.
Realistic scenario: You're fishing, hunting, or camping solo. Your knife dulls after three days of field work. You pull out a pocket-sized hybrid kit, spend five minutes, and you're back to clean, precise cuts. No water, no setup, just a quick routine you can repeat every camp day.
Checklist for success:
- Inspect all surfaces (ceramic, strop) for debris before use.
- Keep the kit in a dry bag or waterproof pouch.
- Use the coarse surface first if the edge is truly dulled; switch to fine ceramic or strop for maintenance.
- Strop (leather-pulling) after every few coarse passes to realign the edge.
- Mark the kit with your name or color tape so it doesn't disappear at a group camp.
Data-Driven Comparison Table
| System Type | Angle Consistency | Time-to-Sharp (dull) | Mess Level | Portability | Cost | Best For |
|---|---|---|---|---|---|---|
| Fixed-Angle Portable | ±2° | 3-5 min | Minimal | $25-$50 | Touch-ups, field speed | |
| Adjustable Guided | ±1° | 5-10 min | Low-Mod | Good (backpack) | $50-$150 | Multiple blade types, serious cooks |
| Electric/Belt | <1° | 3-7 min | Moderate | Fair (table-dependent) | $150-$400 | Base camp, semi-permanent |
| Hybrid Field Kit | ±2° | 5-8 min | Very low | Excellent | $35-$80 | EDC, outdoor multi-use |
The Maintenance Reality: Hidden Costs
Guidance matters as much as the tool itself. Each system has an upkeep profile:
- Fixed-angle portables: Minimal. Keep ceramic dry, inspect for cracks. Replace every 2-3 years if used weekly.
- Adjustable guided: Occasional. Flat the diamond stones (every 50 uses or annually), replace ceramic if chipped. Cost: $15-$30 per stone.
- Belt/disc sharpeners: Moderate. Belts wear and need replacement ($20-$50 per belt after 100+ hours of sharpening). Flattening plates also require periodic replacement.
- Field hybrids: Minimal. Leather strops last years if maintained dry. Ceramic surfaces degrade gradually but are usually replaceable as a set ($25-$40).
Cleaver and Specialty Edge Considerations
Cleaver sharpening in the field often gets overlooked. Most field sharpeners assume kitchen knives with straight edges.
- Fixed-angle portables: Works fine for cleavers; treat the bevel as you would a chef's knife.
- Adjustable systems: Best choice. Cleavers often run 15-20° per side (thicker blades, more durability). Adjustability ensures you sharpen at the original angle.
- Electric/belt: Excellent for cleavers and machete sharpening techniques; some models include jigs for wider, convex edges.
- Field hybrids: Can work, but the narrow sharpening chamber may frustrate on very wide blades. Test first.
Putting It Together: Your Decision Framework
Ask yourself three questions:
1. Where do you sharpen most often?
If at camp or in the field, prioritize portability and low mess (fixed-angle or hybrid).
If at home with a dedicated setup, adjustable benchtop gives you versatility.
2. What's your blade collection?
One or two knives? Fixed-angle is fast and cheap.
Multiple types (Japanese, Western, cleavers, utility)? Adjustable angle wins.
3. How much time and money are you willing to invest?
Minimal commitment? Start with a pocket sharpener ($35-$50) and learn the basics.
Serious hobbyist? Move to adjustable guided ($80-$150) and add a fine ceramic or stropping stage.
Professional or semi-permanent setup? Belt or electric systems ($200+) pay for themselves in speed and consistency.
Actionable Next Steps
Week 1: Establish Your Baseline
Pick one knife you use regularly. Test its current sharpness on paper (can it slice cleanly?) or a tomato (does it cut or crush?). Note the angle if you know it (or estimate by observation). This is your reference point.
Week 2: Choose Your First Tool
Based on the framework above, buy one guided sharpener in your budget range. Start with a fixed-angle portable ($30-$50) if you're budget-first and want to build confidence safely. Upgrade to adjustable angle later as your skill grows and your knife collection expands.
Week 3: One Consistent Pass
Set up in a clean, well-lit space (kitchen table, garage, camp folding table). Follow the checklist for your tool type. Sharpen one blade, count your passes, and record them. Repeat this same routine, same blade, same count, three times over a week. You'll notice variance shrinking. Consistency builds confidence.
Week 4+: Expand and Troubleshoot
Once you're comfortable with your first blade, sharpen a second one (perhaps at a slightly different angle if your system allows). Test both on the same food: does one cut cleaner? This teaches you how angle affects performance. Document what works. Small wins stack.
Final Word
Outdoor cookware sharpening isn't complex, it's just unknown. The difference between a frustrating, inconsistent process and a repeatable, safe one comes down to a guided system that matches your constraints and a simple, step-by-step routine. You don't need expensive gear or years of practice. You need a tool that removes guesswork, and the discipline to sharpen the same way each time. Start safe, then build skill. Your knives (and your confidence) will thank you.
Related Articles