High-Carbon Steel Sharpening: Methods Compared
By Sora Tanaka • 27th Mar
Steel sharpening steel requires understanding that high-carbon steel maintenance differs fundamentally from stainless care. Carbon steel holds an edge better than stainless and responds more quickly to sharpening stones because it contains no chromium (a trade-off that makes it harder but less wear-resistant), yet this same responsiveness creates both advantage and responsibility. The method you choose shapes not only how long your edge lasts, but how cleanly it cuts and whether rust prevention becomes a daily ritual or a transparent part of your routine.
In my informal apprenticeship years ago, my teacher (a retired sushi sharpener) made me spend months chasing a clean burr on cheap stainless using only a 1k stone. When I finally heard the whisper change in the sound, I understood something that no manual could have taught: feedback is the teacher; the stone is honest. That principle applies doubly to carbon steel, where the steel itself communicates faster. This guide compares the three primary methods (whetstones, sharpening steels, and honing steels) and shows you how to build a repeatable practice that matches your steel, your knife, and your real-world constraints. If you're weighing stones against powered options, see our whetstone vs electric comparison to choose the path that fits your setup.
Why High-Carbon Steel Demands Its Own Approach
High-carbon knives sharpen faster and hold their edge longer than stainless blades, a fact confirmed by years of field testing among professional cooks and enthusiasts. Yet that speed comes with nuance. Carbon steel's hardness also means that achieving consistent angle maintenance requires more precision work per stroke, not less. Too many passes at the wrong angle will round your edge before you realize it. Too little pressure, and you'll waste time chasing a burr that never fully forms.
The other variable is carbon steel edge retention itself. Because carbon carries less wear-resistance than powder steels (R2, M390) or even high-tech stainless (VG-10), you preserve its advantage by finishing on appropriate abrasives, typically natural or synthetic stones in the 6000-10,000 grit range. That finishing polish isn't cosmetic; it reduces microchipping and extends your sharpening interval.
Rust prevention also shapes your method choice. Carbon steel oxidizes if not dried promptly after water contact, so techniques that minimize wet-stone contact time, or that allow quick drying intervals, appeal to busy cooks and field users.
The Three Methods: Whetstones, Sharpening Steels, and Honing Steels
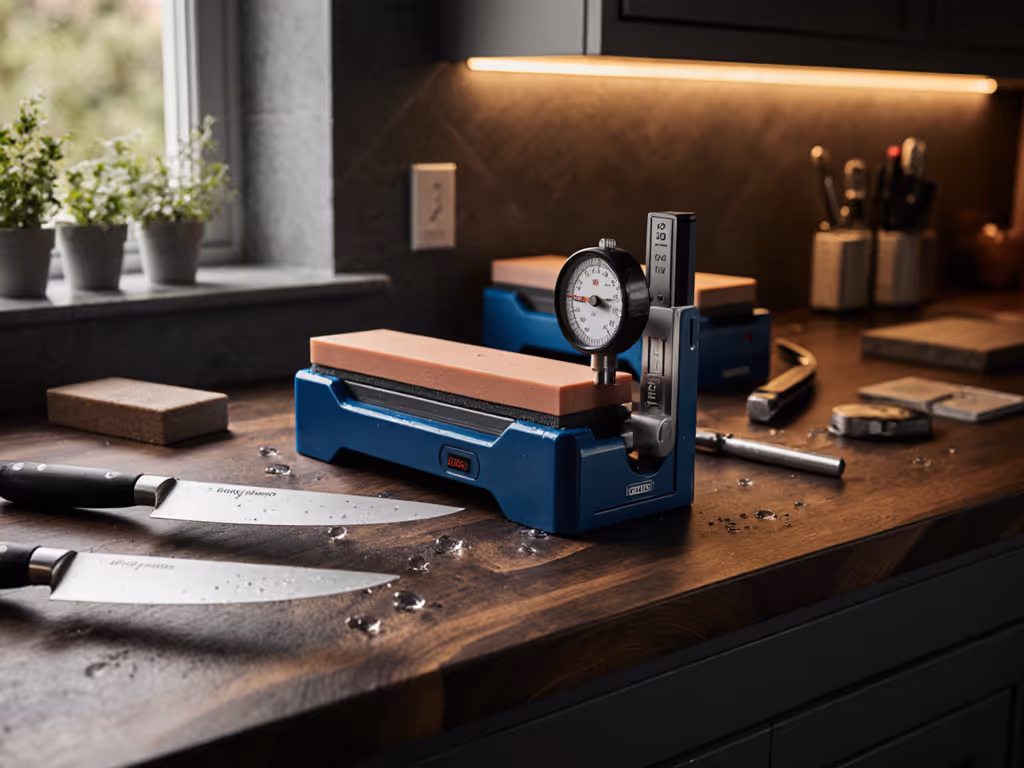
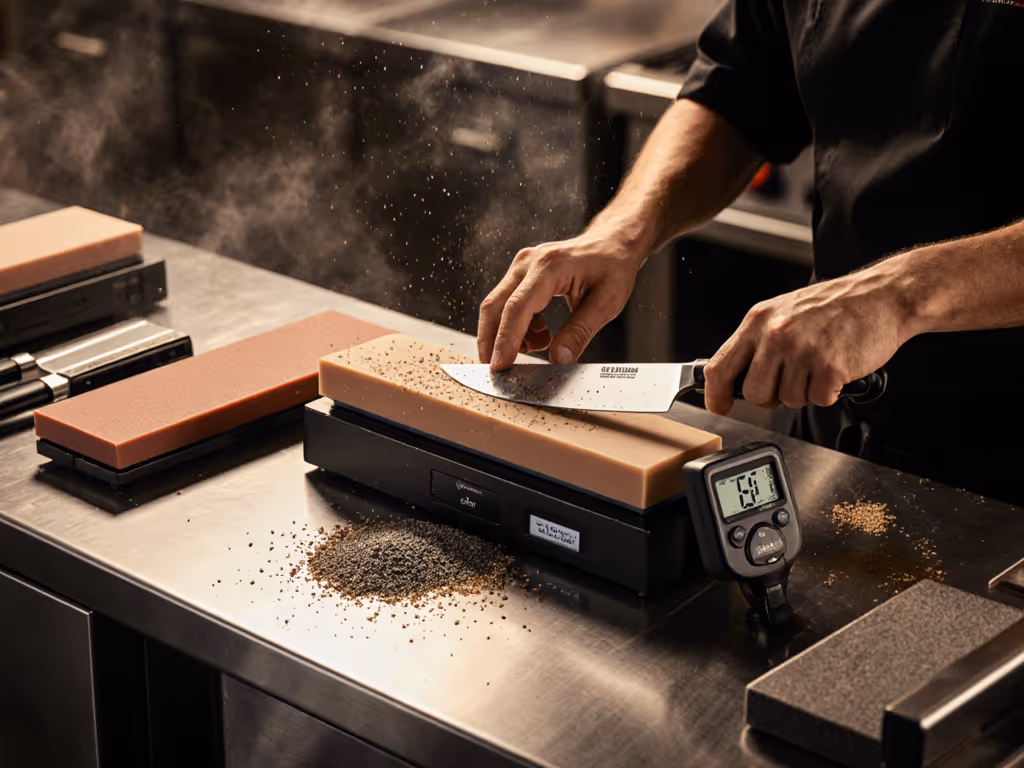
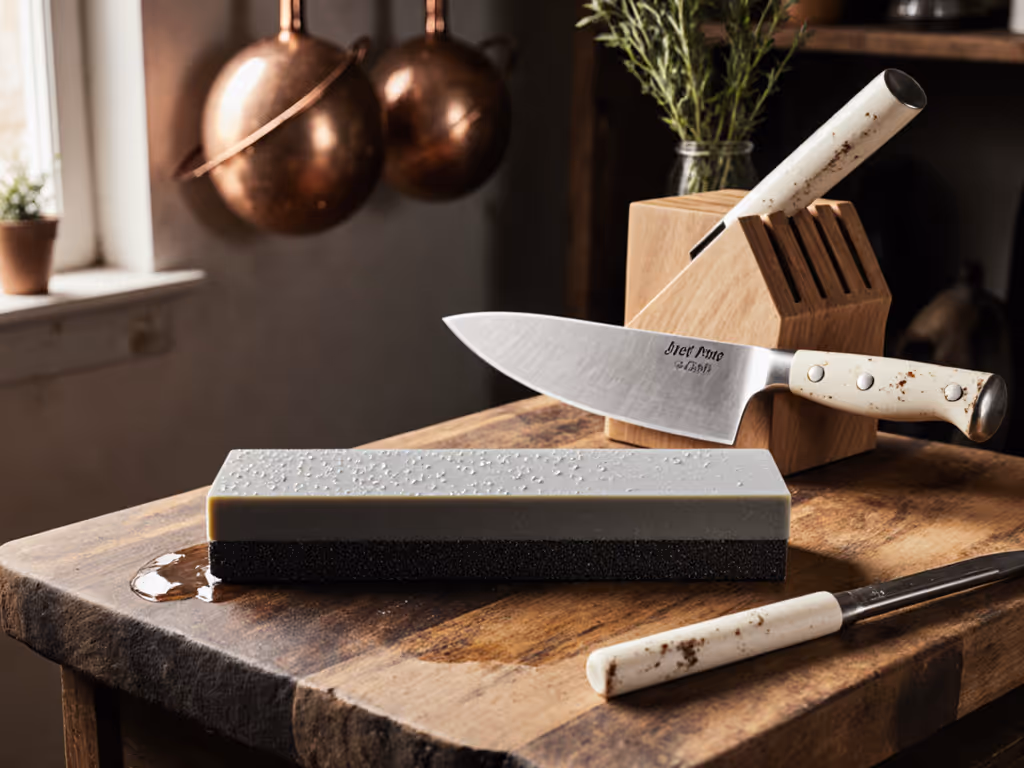
Whetstones (Traditional and Synthetic Stones)
Whetstones are the gold standard for carbon steel. Natural Japanese finishing stones (like the Oohira Model 40) are ideal because they are physically mined stone with no assigned grit number, yet they deliver the "toothiness" that carbon steel can uniquely provide. If cost is a constraint, synthetic alternatives like the Naniwa Professional or Shapton lines offer consistency, durability, and require no soaking.
The checkpoint-driven process is straightforward: For step-by-step sequencing, our grit progression guide explains how each stage builds a durable apex.
- Establish the burr: Begin on a coarse stone (220-1000 grit) with firm, controlled pressure. Angle matters; control the angle, control the outcome (steel tells the truth). Most carbon kitchen knives sit between 15-20 degrees per side.
- Chase and confirm: Move to a 1000 grit stone and establish a clean, whisper-thin burr. This is your feedback signal. When the burr appears consistently from heel to tip, you have proper contact and angle.
- Polish the apex: Move to 6000-10,000 grit finishing stones. Here, lighten the finishing passes. Reduce pressure by half; let the stone work, not your arm. Avoid washing away the slurry (the "mud" of stone and steel particles) as you sharpen; it accelerates the finish.
- Assess: Feel the edge spine. A sharp edge should feel almost sticky when drawn perpendicular to your cutting board.
Advantages: Flexibility to match any steel hardness. Ability to refine edge geometry beyond sharpness (convex, recurve, serration). Meditative, feedback-rich learning curve. Low consumable cost over time. Minimal mess if you use water only.
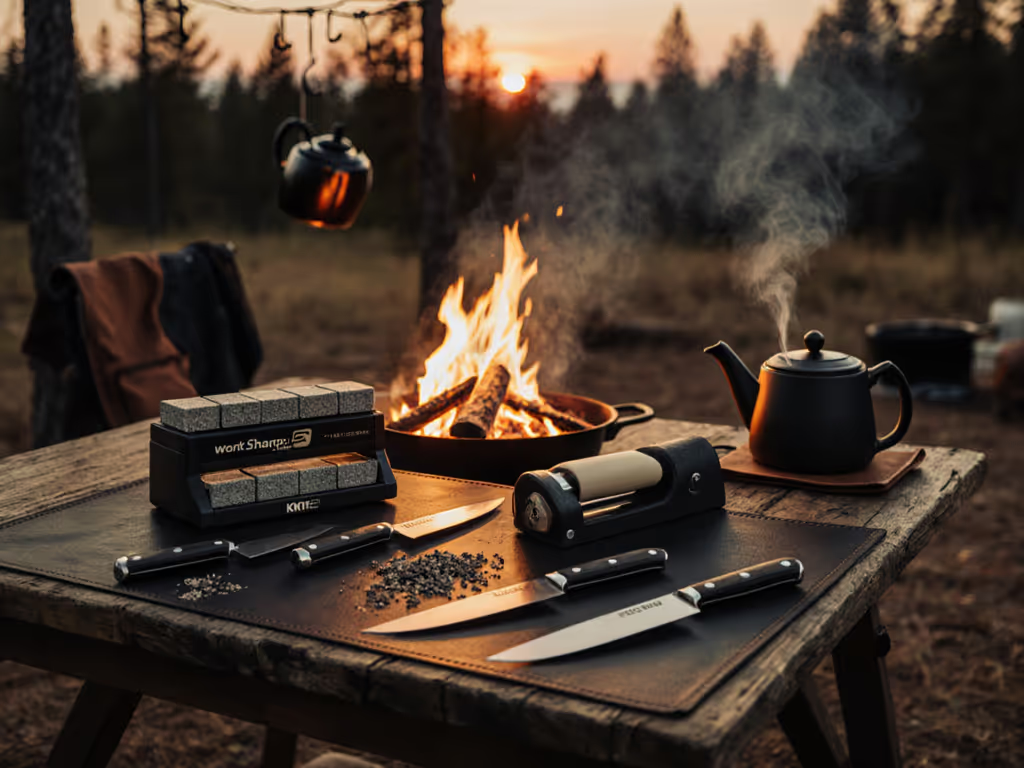
Disadvantages: Steep learning curve for angle consistency. Takes 30+ minutes per full sharpening. Requires stone maintenance (flattening). Not portable for field use without a flat surface.
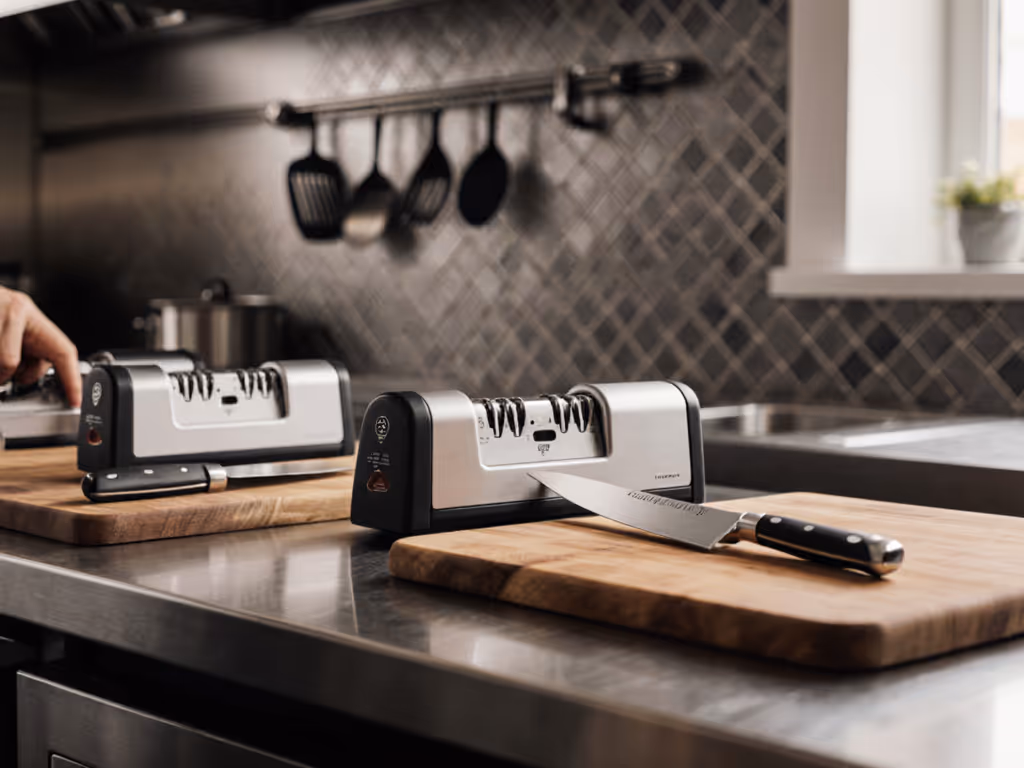
Sharpening Steels (Ceramic and Diamond-Coated)
Sharpening steels come in two variants: ceramic and diamond-coated. Both remove material faster than honing steels, making them true sharpening tools rather than maintenance honers.
Ceramic sharpening steels remove minimal material, suit daily use, and handle hard steels with less aggression than diamond. Their rounded profile (often oval) means varying pressure points, and flatter areas give different cutting action than tight curves.
Diamond-coated sharpening steels remove material quickly. A few strokes restore a sharp edge even on ultra-hard steels, and the result "bites" (useful when you want aggressive cutting on tough foods). However, that speed means you risk over-sharpening and metal loss. Diamond steels are typically oval, so they may not fit round knife-block slots.
Advantages: Speed (3-5 minutes vs. 30+). Minimal setup and water mess. Portable. No maintenance. Effective on any steel hardness, including exotic super steels.
Disadvantages: Coarser feedback about angle consistency. Less control over edge geometry. Higher metal removal per session, which reduces blade lifespan over years. Less suitable for daily maintenance on expensive blades. Ceramic can break if dropped.
Honing Steels
Honing steels (typically round, grooved rods) realign a rolled edge without removing much material. To know when to realign versus remove metal, see honing vs sharpening for clear use cases. They're ideal for maintenance between whetstone sessions, not as your primary sharpening tool. A ceramic honing steel is gentler; diamond-coated honing steels work faster but remove more material.
Advantages: Quick (1-2 minutes). Ideal for maintenance cadence. Minimal material loss. Improves consistency between deeper sharpenings.
Disadvantages: Cannot repair a truly dull edge. Primarily a maintenance tool, not a solution. Feedback is subtle.
Steel-Specific Technique: Building the Burr and Finishing Clean
Control begins with angle. Carbon knives typically sharpen cleanest at 15-18 degrees per side. Set this early and hold it without thinking; muscle memory is your friend here. Many practitioners use a marker-line trick: mark the spine and edge with a permanent marker, then sharpen at your intended angle. If the marker disappears uniformly, your angle is true.
The burr is your checkpoint. As you work the stone, the steel on the spine rolls forward, creating a wire-thin lip. This is not a flaw; it's proof of contact. Once you feel the burr consistently from heel to tip, you've engaged the apex. Move to your next grit.
Patina development during sharpening is normal and desirable on carbon blades. The oxidation that occurs (the darkening of the steel) is simply atmospheric interaction during work. Don't panic. Dry your blade immediately after sharpening, and the process halts. If a dark patina has built up, a quick pass on your 6000+ grit stone with minimal pressure restores shine without sacrificing the working edge.
Best abrasives for carbon steel depend on your intended result. For kitchen use, a 6000-10,000 grit finish gives a polished, durable edge. For field or hunting blades, 3000-6000 grit is sufficient because those edges see rougher use. Always remember: consistency over speed. A blade sharpened at 16 degrees five times will hold its edge longer than one sharpened at varying angles even at higher grits.
Rust Prevention Techniques and Maintenance Cadence
Carbon steel demands respect for moisture. Here's your routine:
- During sharpening: Use fresh water; don't let water pool on the blade spine for long. Work in short intervals and dry the blade between grits.
- Post-sharpening: Dry immediately with a soft cloth. Don't leave water droplets on the blade, spine, or bolster.
- Storage: Store carbon blades in a dry block, on a wall magnet, or wrapped in paper. Humidity and bare air are both risks.
- Maintenance oil (optional): A micro-thin layer of food-grade mineral oil on the blade after sharpening and drying adds a moisture barrier without affecting cutting performance.
Rust prevention is simpler than recovery: a 30-second dry cloth habit beats hours of rust removal. This is especially critical if you sharpen frequently or live in high-humidity climates.
Choosing Your Method: A Framework
Your decision depends on three factors: skill timeline, blade investment, and lifestyle constraints.
- You want the best edge possible and can commit 4-6 weeks to learning angle consistency? Whetstones, especially a synthetic 1000-grit stone paired with a 6000+ finishing stone. Start with a Naniwa Professional or Shapton. The feedback loop (burr formation, sound change, edge feel) teaches faster than any guide system.
- You need sharp in under 5 minutes and have multiple blades to maintain? A diamond-coated sharpening steel for periodic renewal, plus a ceramic honing steel for weekly touch-ups. Quieter than electrics, faster than whetstones.
- You own budget blades or practice knives and want to build confidence risk-free? A ceramic sharpening steel or even a basic pull-through sharpener. Once you're comfortable, upgrade to whetstones.
- You own expensive carbon blades (Damascus, hand-forged, vintage Japanese)? Whetstones, natural stones if possible. Your blade deserves the precision and care.
Final Considerations: Noise, Mess, and Storage
Apartment dwellers and evening sharpers appreciate that whetstones produce minimal noise, just the soft rasp of steel on stone. Sharpening steels are noisier and messier (water splatter). Pull-through sharpeners sit between.
Storage is simpler with steels and pull-through tools (a drawer slot) versus whetstones, which require a dedicated stand, soaking tray, or flat storage. For care routines and trade-offs across media, see our stone maintenance comparison covering water, oil, and diamond stones. For portability, field sharpening and EDC maintenance, a ceramic sharpening steel wins.
Next Steps: Building Your Practice
If you're new to carbon steel sharpening, begin with one method and stick with it for a month. Choose the one that matches your constraints: time, space, budget, blade value. Learn the feedback cues (the burr whisper, the edge feel, the sound shift) for that single method before adding a second tool.
For deeper exploration, seek out steel-specific resources: research your knife's hardness rating (HRC), match it to recommended abrasive grits, and experiment with grit sequences on practice blades before touching expensive pieces. Join communities (blade forums, whetstone enthusiasts, sushi chefs' associations) where real users share tested sequences. Record your sharpening time and edge-life intervals in a simple log; objective data replaces guesswork faster than intuition alone.
The mastery isn't in owning the fanciest tools. It's in the daily practice, the clear feedback loops, and the patience to refine one technique until your hands know the angle before your eyes do.
Related Articles